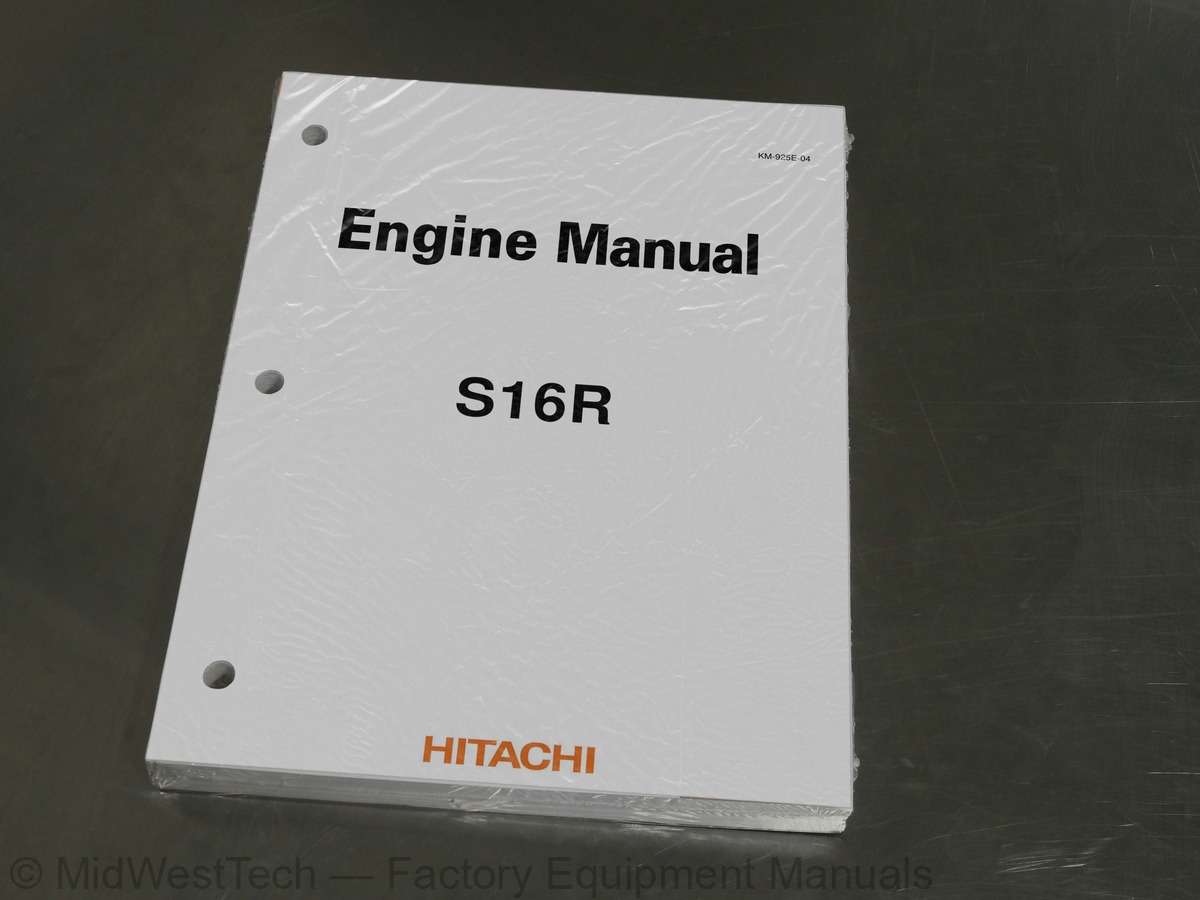
Hitachi S16R Engine Service Manual
324 pages · Publication KM-925E-04
Added to your cart. View cart
- Models
- S16R
- Manual type
- Service Manual
- Pages
- 324
- Publication
- KM-925E-04
- Condition
- Brand new
What's inside
From the manual's own table of contents: 18 sections, 399 entries. See sample pages (PDF, 293 KB)
INTRODUCTION17 topics
- How to Use This Manual
- Methods of Indication
- Terms Used in This Manual
- Abbreviations, Standards, Etc
- Units of Measurement
- Safety Cautions
- Warning Fire and Explosion
- Warning Stay Clear of All Rotating and Moving Parts
- Warning Be Careful of Burns
- Warning Be Careful of Exhaust Fume Poisoning
- Warning Protect Ears from Noises
- Warning Be Careful of Falling Down
- Caution Be Careful of Handling Fuel, Engine Oil and LLC
- Caution Service Battery
- Caution When Abnormality Occurs
- Caution Other Cautions
- Caution About Warning Labels
GENERAL13 topics
- Outline
- External View
- Outline of Fuel System
- Outline of Lubrication System
- Outline of Cooling System
- Outline of Inlet and Exhaust System
- Outline of Electrical System
- Engine Serial Number Location
- Engine Model Code Identification
- Main specification
- Tips on Disassembly and Reassembly
- Disassembly
- Reassembly
MAINTENANCE STANDARDS20 topics
- Maintenance Standards Table
- General
- Engine main part
- Inlet and exhaust systems
- Fuel system
- Lubrication system
- Cooling system
- Electrical system
- Tightening Torque Table
- Major Bolts and Nuts
- Standard Bolts and Nuts Tightening Torque
- Standard Eyebolt Tightening Torque
- Standard Union Nut Tightening Torque
- High-Pressure Fuel Injection Pipe Tightening Torque
- Sealants and Lubricants Table
- Engine main parts
- Lubrication System
- Cooling System
- Inlet System
- Others
BASIC AND SPECIAL TOOLS2 topics
- Commercially-available Tools
- Special Tools
OVERHAUL INSTRUCTIONS2 topics
- Determination of Overhaul Timing
- Testing Compression Pressure
DISASSEMBLY OF ENGINE MAIN PARTS42 topics
- Disassembly of cylinder heads and valve mechanisms
- Removal of nozzle assemblies
- Removal of rocker arm assemblies and push rod
- Removal of rocker assemblies
- Removal of valve bridge
- Removal of rocker case
- Removal of cylinder head assemblies
- Removal of valves and valve springs
- Disassembly of flywheel, timing gear, camshaft, oil pan and oil strainer
- Disassembly of flywheel, timing gear and camshaft
- Disassembly of oil pan and oil strainer
- Removal of flywheel
- Removal of shaft retainer
- Removal of timing gear case
- Measurement of timing gear backlash and end play
- Removal of fuel injection pump accessory drive (left)
- Removal of the fuel injection pump accessory drive (right side)
- Removal of idler gears
- Removal of idler shafts
- Removal of camshaft gears
- Removal of camshafts
- Disassembly of damper and front gears
- Removal of damper
- Removal of mounting plates for oil pump and water pump
- Removal of oil pump gear
- Removal of breather case
- Removal of front gear case
- Removal of bearing cover for oil pump and water pump
- Measurement of idler gear backlash and end play
- Removal of idler gear on the front side
- Removal of idler shaft on the front side
- Disassembly of cylinder liner, piston and connecting rod
- Removal of connecting rod caps
- Removal of carbon deposits at the upper section of cylinder liner
- Removal of piston
- Removal of piston rings
- Removal of piston pins and piston
- Disassembly of crankcase, crankshaft and main bearings
- Reversal of crankcase
- Removal of main bearing caps
- Removal of crankshaft
- Removal of piston cooling nozzles
INSPECTION AND REPAIR OF MAIN PARTS66 topics
- Cylinder head and valve mechanism
- Measurement of rocker arm inside diameter and rocker shaft diameter
- Replacement of rocker bushings
- Measurement of rocker arm inside diameter and rocker shaft diameter
- Replacement of valve guides and stem seals
- Inspection of valve face
- Correction of valve face
- Correction of valve seats
- Replacement of valve seats
- Lapping of valves against valve seats
- Measurement of valve spring perpendicularity and free length
- Inspection of clearance between valve bridge with valve cotter and valve rotator
- Inspection of tappets
- Measurement of push rod bend
- Measurement of cylinder head bottom face for distortion
- Cylinder Liner, Piston and Connecting Rod
- Measurement of cylinder liner bore diameter
- Measurement of cylinder liner collar protrusion
- Replacement of cylinder liners
- Inspection of piston exterior
- Measurement of piston outside diameter
- Inspection of piston ring groove
- Measurement of piston pin bore diameter
- Measurement of piston protrusion
- Measurement of piston ring end gaps
- Measurement of piston pin diameter
- Measurement of connecting rod bushing inside diameter
- Replacement of connecting rod bushing
- Inspection of connecting rod bend and twist
- Inspection of connecting rod bearings
- Measurement of connecting rod end play
- Weight difference of connecting rods in one engine
- Measurement of connecting rod big-end bore diameter and circularity
- Inspection of connecting rod big-end bore serration
- Measurement of connecting rod bearing thickness
- Damper and Front Gear
- Inspection of damper
- Measurement of timing gear backlash
- Inside and outside fitting surface conditions of oil pump gear bearings
- Measurement of idler bushing inside diameter and idler shaft diameter
- Measurement of idler gear end play
- Replacement of idler bushings
- Flywheel, timing gears and camshafts
- Measurement of axial and redial runouts of flywheel
- Measurement of timing gear backlash
- Measurement of idler bushing inside diameter and idler shaft diameter
- Measurement of idler gear end play
- Replacement of idler bushings
- Measurement of camshaft cam height
- Measurement of camshaft deflection
- Measurement of camshaft journal diameter
- Measurement of camshaft bushing inside diameter
- Measurement of camshaft end play
- Replacement of camshaft bushings
- Crankcase, Crankshaft and Main Bearing
- Measurement of crankshaft crankpin and journal diameters
- Grinding of crankshaft
- Crankshaft end play
- Measurement of crankshaft deflection
- Replacement of oil seal slinger
- Replacement of crankshaft gear
- Inspection of main bearing surface
- Measurement of main bearing thickness
- Replacement of main bearings
- Measurement of crankcase gasket surface distortion
- Measurement of main bearing bore diameter
REASSEMBLY OF ENGINE MAIN PARTS50 topics
- Reassembly of Crankcase, Crankshaft and Main Bearing
- Installation of main bearing
- Installation of thrust plates
- Installation of crankshaft
- Installation of main bearing cap
- Installation of main bearing cap bolt
- Measurement of crankshaft end play
- Reassembly of Cylinder Liner, Piston and Connecting Rod
- Reassembly of pistons and connecting rods
- Installation of Piston Rings
- Preparation for installation of pistons
- Installation of connecting rod bearing upper halves
- Installation of piston
- Installation of connecting rod cap
- Reassembly of Damper and Front Gear
- Installation of front plate
- Installation of idler shaft
- Installation of idler gear
- Installation of oil pump and water pump drive bearing covers
- Installation of front gear case and pointer
- Installation of oil pump gear and oil pump/ water pump mounting plate
- Installation of damper
- Reassembly of Flywheel, Timing Gear, Camshaft, Oil Pan and Oil Strainer
- Installation of rear plate
- Turning the engine
- Installation of idler shafts
- Installation of camshafts
- Installation of camshaft gear
- Installation of idler gear
- Installation of fuel injection pump accessory drive (left)
- Installation of fuel injection pump accessory drive (right)
- Inspection and adjustment of timing gear after installation
- Installation of timing gear case
- Installation of rear oil seal
- Installation of shaft retainer
- Installation of flywheel
- Installation of pickup
- Installation of oil pan
- Reassembly of Cylinder Head and Valve Mechanism
- Installation of inlet and exhaust valves
- Installation of tappet
- Application of liquid gasket
- Installation of cylinder head gasket
- Installation of cylinder head assemblies
- Tightening cylinder head bolts
- Installation of rocker case
- Installation of bridge and bridge caps
- Installation of rocker shaft assemblies
- Installation of fuel injection nozzle assemblies
- Adjustment of valve clearance
FUEL SYSTEM37 topics
- Disassembling of the fuel system
- Disassembling and inspection of the fuel injection pipe and fuel leak-off pipe
- Disassembling and inspection of the fuel filter and fuel pipe
- Disassembling and inspection of the fuel control link
- Disassembling and inspection of the actuator
- Disassembling and inspection of the stop solenoid
- Disassembling of the fuel injection pump
- Disassembling, inspection and assembling of the fuel system
- Disassembling and inspection of the fuel filter
- Fuel filter assembling
- Disassembling and inspection of the fuel injection nozzle
- Inspection and adjustment of the fuel injection start pressure
- Fuel injection nozzle spray condition inspection
- Cleaning and exchange at defective injection
- Fuel injection nozzle assembling
- Fuel injection pump disassembling and inspection
- Fuel injection pump inspection
- Assembling the fuel injection pump
- Adjusting fuel injection pump
- Disassembling and inspection of fuel feed pump
- Assembling the fuel feed pump
- Fuel feed pump test
- Disassembling and inspection of the fuel injection pump accessory drive
- Inspection of the outer and inner diameters of the fuel injection pump accessory drive bearing engagement section
- Assembling of the fuel injection pump accessory drive
- Disassembling and inspection of the water separator
- Reassembling of water separator
- Assembling the fuel system
- Assembling the fuel injection pump
- Assembling the stop solenoid
- Assembling the actuator
- Adjustment and confirmation of the working of the stop solenoid
- Re-adjustment of the adjusting bolt
- Assembling the fuel control link
- Assembling the fuel filter and fuel pipe
- Assembling the fuel injection pipe and fuel leak pipe
- Installing the pickup
LUBRICATION SYSTEM17 topics
- Removal of Lubrication System
- Removal of oil pipes and oil cooler from fuel injection pump
- Removal of oil pump, oil filter and oil pan
- Removal of breather
- Disassembly, Inspection and Reassembly of Lubrication System
- Disassembly and inspection of oil pump and safety valve
- Inspection of oil pump and safety valve
- Reassembly of oil pump and safety valve
- Disassembly and inspection of oil filter, oil filter alarm, relief valve, left-hand oil cooler and oil thermostat
- Inspection of oil filter, oil filter alarm, relief valve, left-hand oil cooler and oil thermostat
- Disassembly and inspection of right-hand oil cooler and oil thermostat
- Inspection of right-hand oil cooler and oil thermostat
- Reassembly of oil cooler and oil thermostat
- Reinstallation of Lubrication System
- Reinstallation of oil pump, oil filter and oil pan
- Reinstallation of fuel injection pump oil pipes and oil cooler
- Reinstallation of breather
COOLING SYSTEM12 topics
- Removal of cooling system
- Removal of thermostat case and water pipe
- Removal of water pump
- Disassembly, Inspection, and Reassembly of Cooling System
- Disassembly and inspection of water pump
- Inspection of water pump
- Reassembly of water pump
- Disassembly of thermostat
- Inspection of water thermostat
- Installation of cooling system
- Installation of water pump
- Installation of thermostat case and water pump
INLET AND EXHAUST SYSTEMS27 topics
- Air Duct (Air Cooler-to-Turbocharger)
- Disassembly and Inspection of Air Duct
- Reassembly of Air Duct
- Insulator
- Disassembly and Inspection of Insulator
- Reassembly of Insulator
- Exhaust Manifold
- Disassembly and Inspection of Exhaust Manifold
- Reassembly of Exhaust Manifold
- Turbocharger Oil Pipe
- Disassembly and Inspection of Turbocharger Oil Pipe
- Reassembly of Turbocharger Oil Pipe
- Exhaust Pipe
- Disassembly and Inspection of Exhaust Pipe
- Reassembly of Exhaust Pipe
- Air Duct (Air Cooler-to-Crankcase)
- Disassembly and Inspection of Air Duct
- Reassembly of Air Duct
- Turbocharger
- Disassembly and Inspection of Turbocharger
- Cleaning
- Inspection of turbocharger
- Reassembly of turbocharger
- Air Heater
- Disassembly and Inspection of Air Heater
- Inspection of air heater
- Reassembly of air heater
ELECTRICAL SYSTEM15 topics
- Removal of Electrical System
- Removal of starter
- Inspection before removal of alternator
- Removal of alternator
- Inspection and Reassembly of Electrical System
- Disassembly and inspection of starter
- Inspection and correction of starter
- Reassembly of starter
- Disassembly and inspection of alternator
- Inspection and correction of alternator
- Reassembly of alternator
- Inspection of alternator after reassembly
- Reinstallation of Electrical System
- Installation of stator
- Installation of alternator
ADJUSTMENT, BREAK-IN OPERATION AND PERFORMANCE TESTS23 topics
- Adjustment of engine
- Inspection and Adjustment of Valve Clearances
- Bleeding of Fuel System
- Inspection and adjustment of fuel injection timing (right side)
- Adjustment of No-Load Minimum Engine Speed (Idling) and No-Load Maximum Engine Speed
- Inspection and Adjustment of Tension of Alternator Drive Belt
- Adjustment of actuator control linkage
- Normal operation
- Operation of linkage components
- 2.3 “Out of phase” check
- Adjustment
- Break-In Operation
- Starting Up
- Inspection during break-in operation
- Break-In Duration
- Inspection and Adjustment After Break-In Operation
- Performance Tests
- Standard equipment
- Test methods
- Inspection procedure of dismounted engine
- Major Specifications
- Test/inspection Items
- Test methods and judgment criteria
OTHERS6 topics
- Dissassembly and Reassembly of General parts
- oil seals
- O-rings
- Bearings
- Lock Plates
- Split Pins and Spring Pins
ADJUSTING PROCEDURE OF ELECTRONIC GOVERNOR CONTROLS32 topics
- Introduction
- Adjustment procedure
- Order of adjustment
- Preparation for adjustment
- Required equipment
- Controller installing location and part number. location
- Connection of Personal Computer and Actuator Controller
- Service program start-up
- Normal start-up procedures
- Starting from DOS mode
- Instructions for tunable operation of governor
- Controller setting item chart
- Checks before parts and/or controller setting change
- Confirmation procedure for present values
- Parts change
- Adjustment of control link and controller
- Assembly of control link
- Disconnection of boost sensor
- Checking actuator for function
- Adjustment of control link length
- Adjustment of actuator lever angle
- Confirmation of direct control wirings
- Installation of boost sensor
- Confirmation of high-idle engine speed and actuator lever angle
- Confirmation of low-idle and auto-idle engine speed
- Resetting of protection
- Disconnection of PC and actuator controller
- Confirmation of stop solenoid
- Confirmation of engine stop
- Personal Computer Set-up (How the check when computer program does not start)
- Malfunction display
- Tunable Value List (for Reference)
Inside this manual
Real pages from this service manual (324 pages). Open the sample pages (PDF, 293 KB)
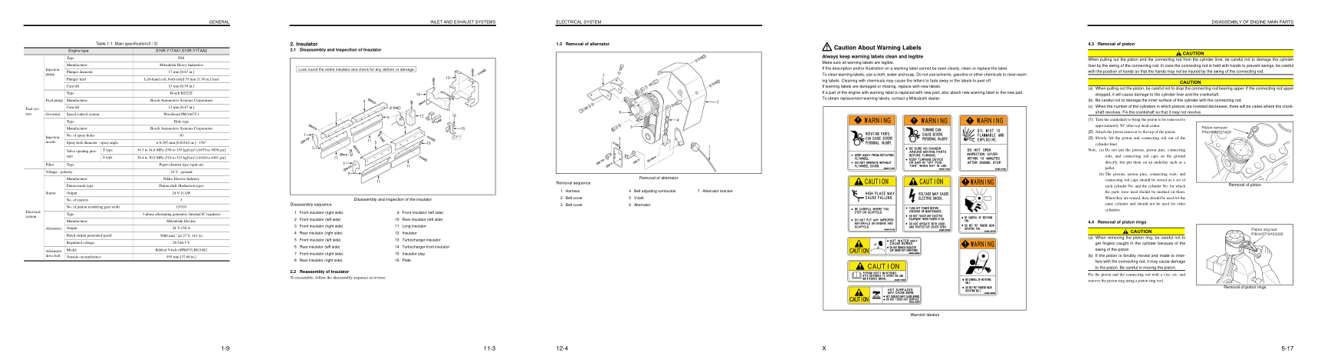
- Specifications, page 25: GENERAL
- Repair procedure, page 225: INLET AND EXHAUST SYSTEMS
- Diagram, page 250: ELECTRICAL SYSTEM
- Color page, page 14: Caution About Warning Labels
- Color page, page 77: DISASSEMBLY OF ENGINE MAIN PARTS
This is a service manual
Here's how it compares to the other manual types.
Service manual
Factory repair procedures and technical information such as specifications, troubleshooting, and wiring and hydraulic diagrams, for the models and systems the manual covers. See What's inside for its topics.
Operator's manual
Safe operation, controls, maintenance schedules, lubrication points, inspections, and basic checks. Repair procedures are in the service manual.
Parts manual
Illustrated diagrams with factory part numbers for identifying components and ordering parts. Repair procedures are in the service manual.
Engine service manuals are sometimes sold separately, since certain machine models were offered with more than one engine option.
What it's used for
Factory manual for in-house farm and construction shop use. Straightforward, complete, and easy to follow. It contains the OEM information dealership service departments and parts counters use to diagnose problems, identify components, and perform maintenance or repairs correctly.
Service shops and owner/operators who repair their own equipment
Identifying correct parts and seeing how assemblies come apart and go back together
Keeping equipment running with less downtime
Factory manual, 324 pages
Quantity one is the manual described above.
Fast free USA shipping
Ships in 1 business day.
60-day returns
Free if the mistake is ours. A manual ordered in error must come back unopened in its shrink-wrap; you pay return shipping and a 20% restocking fee applies. Return policy
Binder not included
Manuals over about 300 pages may need a standard 3-ring binder, which you can buy locally to keep the pages organized for shop use.
Questions about model, serial number, engine coverage or contents? Contact us before purchasing and we'll help confirm it's the right manual. Please verify the manual type, machine model, serial number range and engine coverage before purchasing: manuals ordered in error carry a 20% restocking fee (return policy).