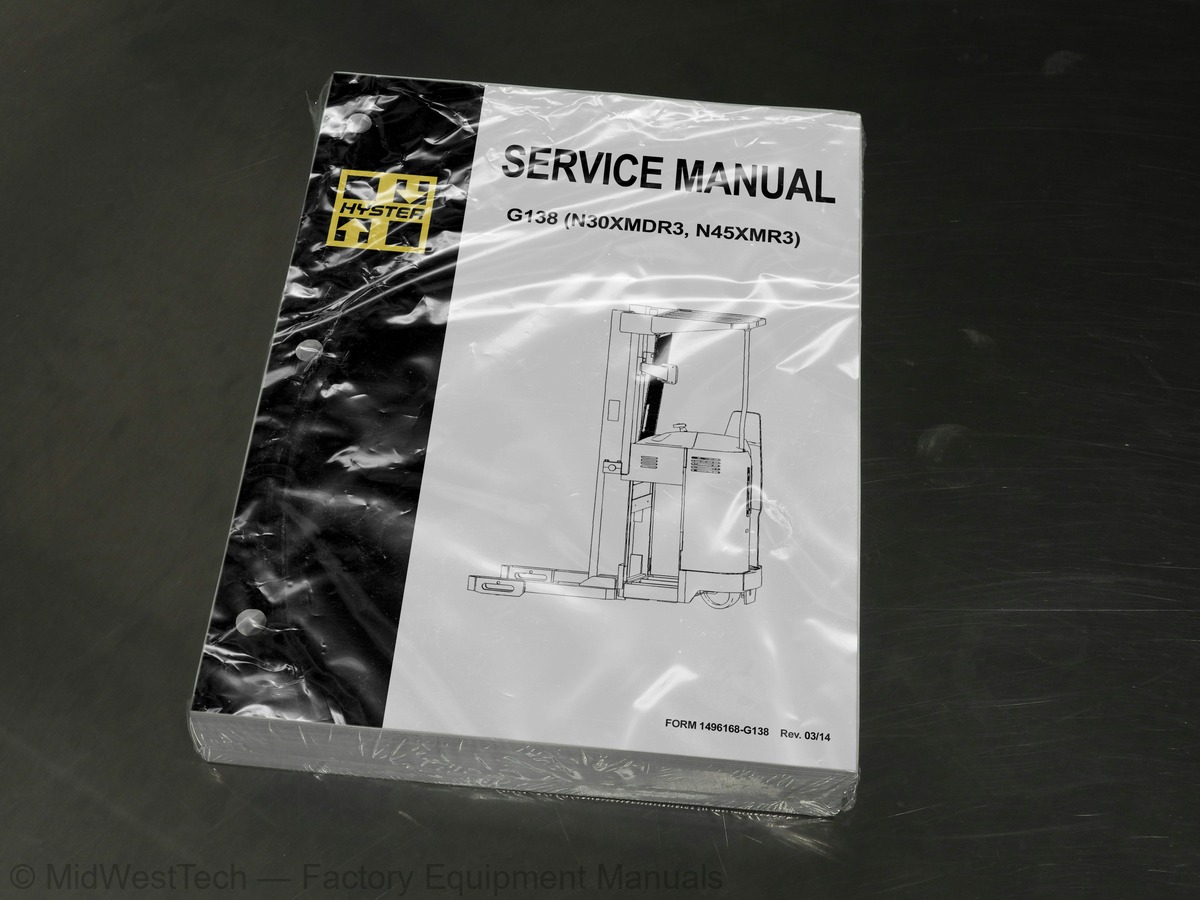
Hyster G138 (N30XMDR3, N45XMR3) Order Picker Service Manual
631 pages · Publication 1496168-G138
Added to your cart. View cart
- Models
- G138 (N30XMDR3, N45XMR3)
- Manual type
- Service Manual
- Pages
- 631
- Publication
- 1496168-G138
- Condition
- Brand new
What's inside
From the manual's own table of contents: 190 sections, 553 entries. See sample pages (PDF, 242 KB)
Brush and Commutator Inspection4 topics
- Hydraulic Pump Motor and Traction Motor
- Steering Pump Motor
- Normal Commutator Surface
- Commutator Problems
Motors Repair6 topics
- Disassemble
- Traction Motor and Hydraulic Pump Motor
- Steering Pump Motor
- Assemble
- Traction Motor and Hydraulic Pump Motor
- Steering Pump Motor
Tests for Damaged Field and Armature7 topics
- Test for an Open Circuit in One Armature Winding
- Test for Short Circuit in One Armature Winding
- Test for Short Circuit to Armature Shaft
- Test for Open Circuit in Field Coil
- Test for Short Circuit in Field Coil
- Test for Short Circuit Between Field and Motor Case
- Brush Holder Test
Two-Stage Mast2 topics
- Description
- Operation
Description1 topic
- Lowering Control Valve
Load Backrest Extension, Carriage, Load Rollers, Side Rollers, a6 topics
- Load Backrest Extension, Remove and Install
- Carriage Assembly, Remove and Install
- Carriage Load Rollers, Remove and Install
- Side Rollers, Disassemble and Assemble
- Fork, Replace
- Hook-Type Forks
Show all 190 sections
Two-Stage Mast Assembly15 topics
- Remove
- Clean and Inspect
- Lift Cylinders, Remove and Install Dual-Lift Cylinders
- Lift Cylinder, Remove and Install Single Main-Lift Cylinders
- Remove
- Install
- Inner Mast Assembly, Remove and Install
- Hoses, Replace
- Hose and Cable Sheaves, Replace
- Two-Stage Lift Chains
- Remove and Install
- Clean and Inspect
- Two-Stage Chain Sheave, Remove and Install
- Load Rollers and Wear Plugs, Remove and Install
- Two-Stage Mast Assembly, Install
Three-Stage Mast Assembly14 topics
- Three-Stage Mast Assembly, Remove
- Free-Lift Cylinder, Remove and Install
- Main Cylinders (Standard), Remove and Install
- Inner and Intermediate Mast Assemblies, Remove and Install
- Free-Lift Hose Sheave
- Carriage Sheaves
- Three-Stage Lift Chains, Remove and Install
- General
- Free-Lift Chains
- Main-Lift Chains
- Three-Stage Chain Sheaves, Disassemble and Assemble
- Free-Lift Chain Sheaves
- Main-Lift Chain Sheaves
- Three-Stage Mast Assemble, Install
Lift Chains Check2 topics
- General
- Lubrication
Mast Adjustments6 topics
- Adjust Wear Plugs - Mast
- Adjust Free-Lift Chain (Three-Stage Only)
- Adjust Main-Lift Chains
- Two-Stage
- Three-Stage
- Adjust Wear Strips
Carriage Adjustments3 topics
- Adjust Wear Plug - Carriage
- Adjust Side Rollers - Carriage
- Adjust Thrust Rollers - Carriage
Instrument Cluster7 topics
- Display Panels on Steering Column, Internal Combustion
- Display Panels on Steering Column, Electric Lift Trucks
- Standard Display Panel
- Enhanced Display Panel
- Curtis 1215 Display Panel
- Description and Features
- Operation
Cluster-Type Display Panel (Internal Combustion) Replacement2 topics
- Remove and Disassemble
- Assemble and Install
Cluster Display Panel (Electric Lift Truck) Replacement7 topics
- Display Panel Assembly, Replace
- LED Indicators
- Battery Indicators
- Digital Display (Enhanced Display Panel Only)
- Status Code or Performance Level Switches and LED indicators (En
- Standard Display Panel Parts, Replace
- Enhanced Display Panel Parts, Replace
Curtis 1215 Display Panel Replacement1 topic
- Install
Battery Indicators8 topics
- Indicators With Meter Movements
- Battery Indicators With LCD or LED Displays
- Liquid Crystal Displays
- SEM Display Panels Description
- Light Emitting Diode Displays
- Description LX Series
- ZX Series Display Panels Description
- SEVCON POWERGAUGE™ Battery Display Panel Description
Battery Indicators With Lift Interrupt Adjustment (Early Models)2 topics
- Reset Potentiometer
- Specific Gravity Alarm
Battery Indicators With Lift Interrupt Adjustment (Later Models)1 topic
- Discharge Potentiometer
Curtis 933-1 Meter Check and Adjustment8 topics
- Check
- Reset Check
- Discharge Check
- Lockout Check
- LEDs Do Not Illuminate
- Hourmeter Check
- Hourglass Icon
- Adjust
Curtis Dash Display Assembly14 topics
- Description/Features
- Testing
- Inoperative Dash Display Assembly
- Inoperative Drive Mode Selection
- Troubleshooting With a Programmer Handset
- Troubleshooting Without a Programmer Handset
- No Warnings or Faults Displayed
- MIB/Dash Display Communication
- Lift Interrupt
- Lost MIB Signal Displayed
- Lift Pump Hourmeter Input
- Forward/Reverse Hourmeter Inputs
- Adjust (Setup, Early Models)
- Adjust (Setup, Later Model)
SEM Display Panel Replacement1 topic
- Remove and Replace
Periodic Maintenance7 topics
- Discharging the Capacitors
- How to Move Disabled Truck
- How to Tow Lift Truck
- How to Put Lift Truck on Blocks
- How to Raise Load Wheels
- How to Raise Steer Wheel
- How to Raise the Entire Lift Truck
Maintenance Procedures Every 8 Hours or Daily17 topics
- Checks With Key Switch Turned OFF
- Battery
- Hydraulic System
- Tires and Wheels
- Safety Labels
- Overhead Guard
- Mast, Forks, and Lift Chains
- Reach, Tilt, and Sideshift
- Forks
- Lift Chain Adjustments
- Checks With Key Switch Turned ON
- Operation
- Instruments and Controls
- Lift System Operation
- Multifunction Control Handle
- Brake
- Steering System
Maintenance Procedures Every 350 Hours or 2 Months14 topics
- Master Drive Unit
- Brake
- Hydraulic System
- Articulation Stop Adjustment
- Adjustment Procedure
- Lift System Operation
- Forks
- Mast
- Lift Chains
- Other Lubrication
- Electrical Inspection
- Fuses
- Contactors
- Motor Brushes
Maintenance Procedures Every 2000 Hours or Yearly4 topics
- Change Hydraulic Oil
- Change Hydraulic Oil Filter
- Check Hydraulic Oil Strainer
- Brakes
Maintenance Procedures Every 3000 Hours or Three Years1 topic
- Traction Motor
Lift and Tilt System Leaks Check2 topics
- Lift System
- Tilt System
Battery Maintenance2 topics
- How to Charge Battery
- How to Change Battery
Tires and Wheels5 topics
- Drive Tire
- How to Change Drive Tire
- Tandem Load Wheels
- Single Load Wheel
- Caster Wheels
Preparation for Storage2 topics
- Short-Term Storage (1 to 6 months)
- Long-Term Storage (6 months or longer)
Transporting2 topics
- Loading
- Unloading
Preparation for Use2 topics
- Preparation After Shipment
- Preparation After Storage
Reach Carriages1 topic
- Reach Assemblies
Fork Replacement1 topic
- Hook Forks
Reach Assembly Outer Frame4 topics
- Remove Without Sideshifter
- Disassemble Without Sideshifter
- Assemble Without Sideshifter
- Install Without Sideshifter
Tilt Cylinder1 topic
- Clean, Inspect, and Repair
Carriage or Reach Assembly Adjustments4 topics
- Adjust Wear Plug
- Adjust Side Rollers
- Adjust Thrust Rollers
- Adjust Reach Cylinders
Control Valve8 topics
- Trucks Built Before 15 July, 2002
- Trucks Built After 15 July, 2002
- Control Valve-Manual Lowering
- Trucks Built Before 15 July, 2002
- Trucks Built After 15 July, 2002
- Check and Adjust
- Main Relief Valve (N30XMXDR3, N45XMXR3)
- Auxiliary Relief Valve
Steering Control Unit6 topics
- Repair
- Disassemble (Before May 2002)
- Disassemble (After May 2002)
- Clean
- Reassemble (Before May 2002)
- Reassemble (After May 2002)
Steering Pump and Motor Assembly8 topics
- Pump and Motor
- Remove and Disassemble
- Assemble and Install
- Pump
- Remove
- Install
- Disassemble
- Assemble
Axle Assembly Repair20 topics
- Description
- Remove
- Install
- Description
- Remove Chain-Steered MDU
- Install
- Hydraulic Steering Motor
- Description
- Remove
- Install
- Description
- Caster Replacement
- Wheel Replacement
- Axle Weldment
- Remove
- Install
- Remove Air From Steering System
- Check Steering Chain
- Check Articulation Stop Adjustment
- Steering Pressure
Covers, Panels, and Plates1 topic
- Replace Load Wheels
Overhead Guard Repair1 topic
- Changes to Overhead Guard
SEM Traction Motor Controller1 topic
- Test
Programmer Handset12 topics
- SCROLL DISPLAY Keys
- CHANGE VALUE Keys
- MORE INFO Key
- Connecting Handset to Traction Motor Controller
- Disconnecting Handset From Traction Motor Controller
- Programmer Self Test
- Operating Modes
- Program Menu
- Test Menu
- Diagnostics Menu
- Diagnostic History
- Special Program Menu
Programmer Handset12 topics
- Menu Navigation Key
- Data Increase/Decrease Key
- Bookmark Keys
- Connecting Handset to Traction Motor Controller
- Disconnecting the Handset From the Traction Motor Controller
- Main Menu Selections
- Program Menu
- Monitor Menu
- Faults Menu
- Functions menu
- Information Menu
- Programmer Setup Menu
Programming the Traction Motor Controller - 1311 Handset3 topics
- Status LED Diagnostics
- Diagnostics Menu
- Test Menu
Contactors2 topics
- Auxiliary Switch
- EE Contactors
Relays6 topics
- Enable Relay
- Hourmeter Relay
- Lift/Lower Relay (Trucks Built After 1 August 2002)
- Coil Testing
- Contact Testing
- Remove and Install
Proportional Electro-Hydraulic Control Valves3 topics
- Manual Lowering
- Trucks Built Before 1 August, 2002
- Trucks Built After 1 August, 2002
Carriage Valve Assembly and Selector Valves1 topic
- Test/Remove/Install
Multifunction Control Handle1 topic
- Tools Required
Shelf Height Selector27 topics
- Power On, Start Up
- Programming
- Field Program Mode
- Enter Shelf Level
- Set Shelf Level
- Quick Pick Level Keys
- Set Minimum Lift Speed
- Set Minimum Lower Speed
- Changing the 3-Digit Security Code
- Factory Program Mode
- Calibrate Lift
- Set Options
- Control Zone
- Deadband
- Reset User Code
- Clear All
- Show All Levels
- Set LCD Bias
- Show Analog
- External Inputs
- System Errors
- Main Interface Board (MIB) Adjustments
- Function 32 Hydraulic Potentiometer - Set-Up
- Function 02 Lift Minimum Rate
- Function 04 Lower Minimum Rate
- Function 59 Hydraulic Lift Function - Stopping Rate
- Function 61 Hydraulic Lower Function - Stopping Rate
Main Interface Board (MIB)5 topics
- LED Display
- MIB, Remove
- MIB J-Connector, Repair
- Inspect
- MIB, Install
Main Interface Board (MIB) Setup Procedures15 topics
- Default Values
- Checking Model Code, Software Version, and Setup Status
- MIB Generation II Setup Procedure
- Entering the Setup Mode
- Editing Settings
- Changing the Setting Values
- Entering Text
- System Information and Fault Log
- Passwords
- Defaults
- Exit and Save
- Parameters
- Top Level Menu Items
- Max Speed and Low End Adjustments
- Customizing MIB Functions
MIB Status, Warning, and Fault Codes1 topic
- Troubleshooting Charts
Fault Codes20 topics
- Connecting Handset to Traction Motor Controller
- Disconnecting Handset from Traction Motor Controller
- Programmer Self Test
- Program Menu
- Test Menu
- Diagnostics Menu
- Diagnostic History
- Special Program Menu
- Menu Navigation Key
- Data Increase/Decrease Key
- Bookmark Keys
- Connecting Handset to Traction Motor Controller
- Disconnecting the Handset From the Traction Motor Controller
- Program Menu
- Monitor Menu
- Faults Menu
- Functions menu
- Information Menu
- Programmer Setup Menu
- Programmer Diagnostics
Dash Display Assembly14 topics
- Description and Features
- Battery Indicator
- Voltage Selection
- Dash Display, Adjust
- Battery Indicator Profile Settings
- Troubleshooting
- Inoperative Dash Display Assembly
- Inoperative Drive Mode Selection
- Troubleshooting the Dash Display With a Programmer Handset
- Troubleshooting Without a Programmer Handset
- No Warnings or Faults Displayed
- Lift Interrupt
- Lost MIB Signal Displayed
- Hourmeter Input
HFK400 Master Drive Unit5 topics
- Drive Unit Maintenance and Repair
- Remove
- Install
- Disassemble
- Assemble
GK Master Drive Unit5 topics
- Maintenance
- Changing the Oil
- Traction Motor and Drive Unit Splines
- Mounting Electric Motor
- Pivoted Connection - Geared Steering
Inside this manual
Real pages from this service manual (631 pages). Open the sample pages (PDF, 241 KB)
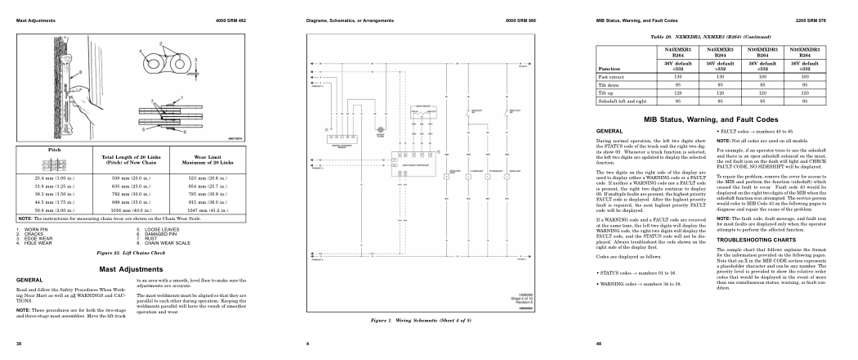
- Specifications, page 109: Mast Adjustments
- Diagram, page 235: Diagrams, Schematics, or Arrangements
- Troubleshooting, page 541: MIB Status, Warning, and Fault Codes
This is a service manual
Here's how it compares to the other manual types.
Service manual
Factory repair procedures and technical information such as specifications, troubleshooting, and wiring and hydraulic diagrams, for the models and systems the manual covers. See What's inside for its topics.
Operator's manual
Safe operation, controls, maintenance schedules, lubrication points, inspections, and basic checks. Repair procedures are in the service manual.
Parts manual
Illustrated diagrams with factory part numbers for identifying components and ordering parts. Repair procedures are in the service manual.
Engine service manuals are sometimes sold separately, since certain machine models were offered with more than one engine option.
What it's used for
Factory manual for in-house farm and construction shop use. Straightforward, complete, and easy to follow. It contains the OEM information dealership service departments and parts counters use to diagnose problems, identify components, and perform maintenance or repairs correctly.
Service shops and owner/operators who repair their own equipment
Identifying correct parts and seeing how assemblies come apart and go back together
Keeping equipment running with less downtime
Factory manual, 631 pages
Quantity one is the manual described above.
Fast free USA shipping
Ships in 1 business day.
60-day returns
Free if the mistake is ours. A manual ordered in error must come back unopened in its shrink-wrap; you pay return shipping and a 20% restocking fee applies. Return policy
Binder not included
Manuals over about 300 pages may need a standard 3-ring binder, which you can buy locally to keep the pages organized for shop use.
Questions about model, serial number, engine coverage or contents? Contact us before purchasing and we'll help confirm it's the right manual. Please verify the manual type, machine model, serial number range and engine coverage before purchasing: manuals ordered in error carry a 20% restocking fee (return policy).