JLG EC520AJ Boom Lift Parts Manual
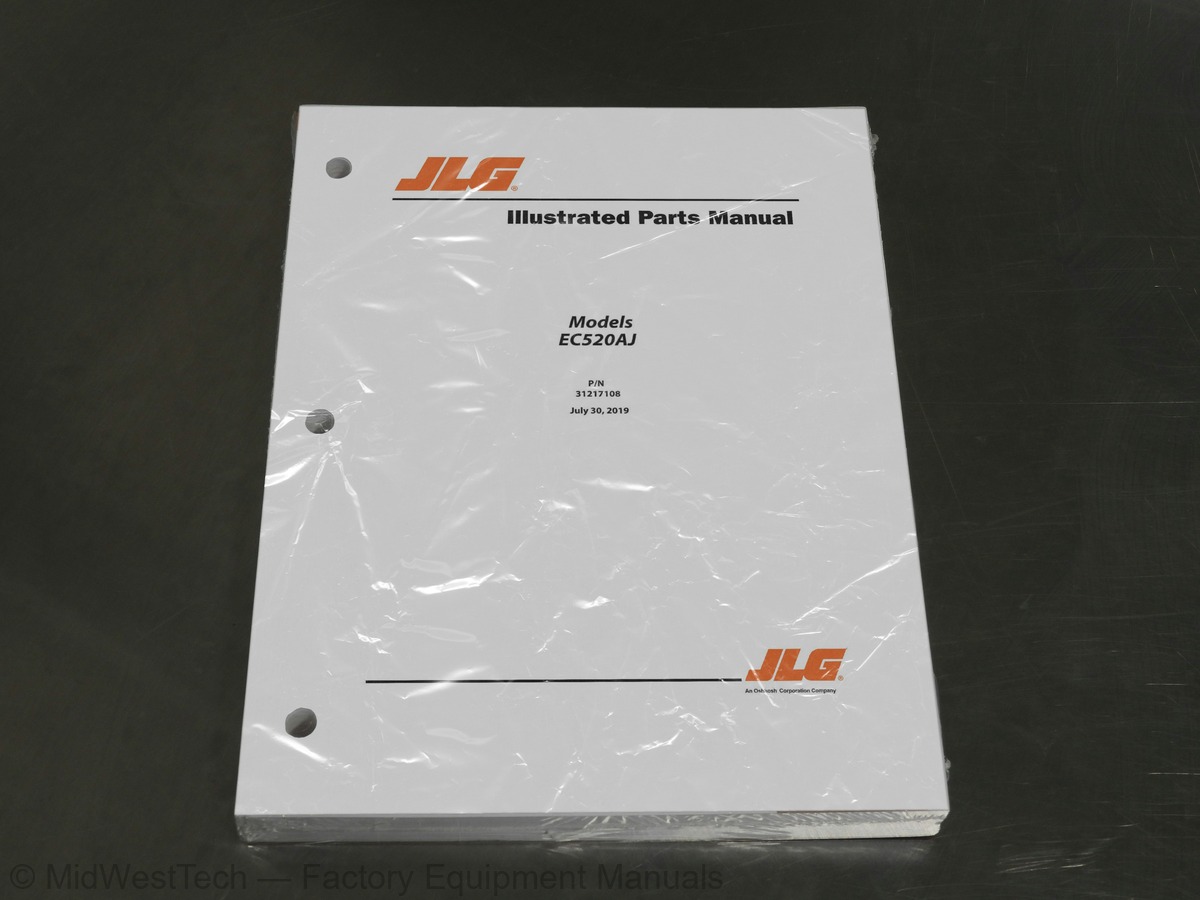
267 pages · Publication 31217108
Added to your cart. View cart
- Models
- EC520AJ
- Serial coverage
- Prior to C300000330, C180000105-C180000106
- Manual type
- Parts Manual
- Pages
- 267
- Publication
- 31217108
- Condition
- Brand new
What's inside
From the manual's own table of contents: 57 sections, 120 entries. See sample pages (PDF, 497 KB)
General60 topics
- SECTION 1 - FRAME
- FIGURE 1-1. AXLE INSTALLATION
- FIGURE 1-2. STEER INSTALLATION
- FIGURE 1-3. WHEEL DRIVE INSTALLATION (2WD)
- FIGURE 1-4. HUB - SPINDLE ASSEMBLY
- FIGURE 1-5. DRIVE MOTOR ASSEMBLY
- FIGURE 1-6. BATTERY INSTALLATION
- FIGURE 1-7. FRAME SHIELD INSTALLATION
- FIGURE 1-8. TIRE AND WHEEL INSTALLATION - 33 X 12-20 SOLID NON-MARKING
- FIGURE 1-9. TIRE AND WHEEL INSTALLATION - 315/55 D20 FOAM FILLED
- FIGURE 1-10. TIRE AND WHEEL INSTALLATION - 315/55 D20 FOAM FILLED NON-MARKING
- FIGURE 1-11. CONTROL VALVES INSTALLATION - FRAME MOUNTED
- FIGURE 1-12. OSCILLATING AXLE VALVE ASSEMBLY
- SECTION 2 - TURNTABLE
- FIGURE 2-1. CONTROL VALVES INSTALLATION - TURNTABLE MOUNTED
- FIGURE 2-2. MAIN VALVE ASSEMBLY
- FIGURE 2-3. AUXILIARY PUMP ASSEMBLY
- FIGURE 2-4. ENCLOSURE INSTALLATION
- FIGURE 2-5. SWING DRIVE AND TURNTABLE BEARING INSTALLATION
- FIGURE 2-6. SWING MOTOR ASSEMBLY
- FIGURE 2-7. TURNTABLE BEARING ASSEMBLY
- FIGURE 2-8. TURNTABLE COVERS INSTALLATION
- FIGURE 2-9. TURNTABLE LOCK INSTALLATION
- FIGURE 2-10. TANK AND PUMPS INSTALLATION
- FIGURE 2-11. HYDRAULIC TANK INSTALLATION
- FIGURE 2-12. MOTOR ASSEMBLY
- FIGURE 2-13. DRIVE ORIENTATION INSTALLATION
- FIGURE 2-14. GROUND CONTROL ASSEMBLY
- FIGURE 2-15. ELECTRICAL SYSTEM INSTALLATION
- FIGURE 2-16. BATTERY CHARGER INSTALLATION
- FIGURE 2-17. BATTERY AND CABLE INSTALLATION
- FIGURE 2-18. ALARM WHITE NOISE INSTALLATION
- FIGURE 2-19. BEACON LIGHT INSTALLATION - AMBER
- FIGURE 2-20. BEACON LIGHT INSTALLATION - BLUE
- FIGURE 2-21. BEACON LIGHT INSTALLATION - RED
- FIGURE 2-22. HOODS INSTALLATION
- FIGURE 2-23. HOOD ASSEMBLY - TANK SIDE
- FIGURE 2-24. HOOD ASSEMBLY - ENGINE SIDE
- FIGURE 2-25. COVERS INSTALLATION - COUNTERWEIGHT
- SECTION 3 - BOOM
- FIGURE 3-1. CYLINDERS INSTALLATION
- FIGURE 3-2. BOOM INSTALLATION – WITHOUT AIRLINES
- FIGURE 3-3. BOOM INSTALLATION – WITH AIRLINE
- FIGURE 3-4. BOOM AIRLINE INSTALLATION
- FIGURE 3-5. AIRLINE FITTINGS INSTALLATION
- FIGURE 3-6. MAIN BOOM INSTALLATION
- FIGURE 3-7. MAIN BOOM ASSEMBLY
- FIGURE 3-8. TOWER BOOM ASSEMBLY
- FIGURE 3-9. JIB INSTALLATION
- FIGURE 3-10. ROTATOR ASSEMBLY
- FIGURE 3-11. PLATFORM SUPPORT INSTALLATION - WITH 1 CELL LSS
- FIGURE 3-12. BOOM VALVES INSTALLATION
- FIGURE 3-13. BOOM VALVE ASSEMBLY
- FIGURE 3-14. UPRIGHT VALVE ASSEMBLY
- SECTION 4 - PLATFORM
- FIGURE 4-1. PLATFORM ASSEMBLY - 30IN X 4FT (76CM X 1.22M) - SIDE GATE ENTRY
- FIGURE 4-2. PLATFORM ASSEMBLY - 30IN X 5FT (76CM X 1.52M) - SIDE GATE ENTRY
- FIGURE 4-3. PLATFORM ASSEMBLY - 30IN X 6FT (76CM X 1.83M) - SIDE GATE ENTRY
- FIGURE 4-4. PLATFORM ASSEMBLY - 30IN X 3FT (76CM X .91M) - DROP BAR ENTRY
- EC520AJ
Show all 58 sections
FIGURE 9-1. RECOMMENDED SERVICE PARTS STOCK3 topics
- SECTION 10 - SPECIAL OPTIONS
- FIGURE 10-1. SPECIAL OPTIONS
- PART NUMBER INDEX
Inside this manual
Real pages from this parts manual (267 pages). Open the sample pages (PDF, 496 KB)
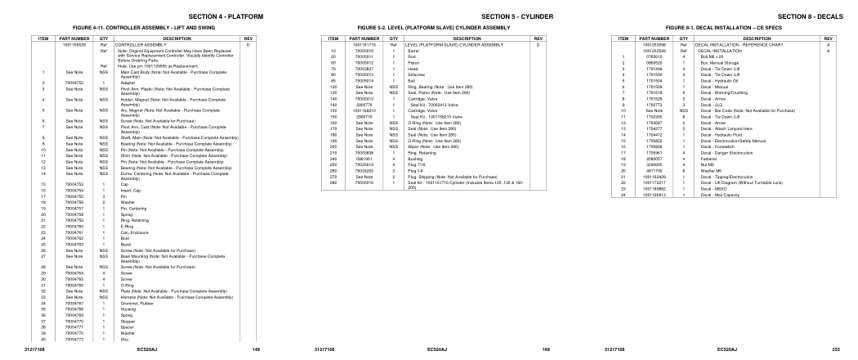
- Parts illustration, page 149: SECTION 4 - PLATFORM
- Parts illustration, page 169: SECTION 5 - CYLINDER
- Parts illustration, page 253: SECTION 8 - DECALS
This is a parts manual
Here's how it compares to the other manual types.
Service manual
Factory repair procedures and technical information such as specifications, troubleshooting, and wiring and hydraulic diagrams, for the models and systems the manual covers. See What's inside for its topics.
Operator's manual
Safe operation, controls, maintenance schedules, lubrication points, inspections, and basic checks. Repair procedures are in the service manual.
Parts manual
Illustrated diagrams with factory part numbers for identifying components and ordering parts. Repair procedures are in the service manual.
What it's used for
Factory manual for in-house farm and construction shop use. Straightforward, complete, and easy to follow. It contains the OEM information dealership service departments and parts counters use to diagnose problems, identify components, and perform maintenance or repairs correctly.
Service shops and owner/operators who repair their own equipment
Identifying correct parts and seeing how assemblies come apart and go back together
Keeping equipment running with less downtime
Factory manual, 267 pages
Quantity one is the manual described above.
Fast free USA shipping
Ships in 1 business day.
60-day returns
Free if the mistake is ours. A manual ordered in error must come back unopened in its shrink-wrap; you pay return shipping and a 20% restocking fee applies. Return policy
Questions about model, serial number, engine coverage or contents? Contact us before purchasing and we'll help confirm it's the right manual. Please verify the manual type, machine model, serial number range and engine coverage before purchasing: manuals ordered in error carry a 20% restocking fee (return policy).