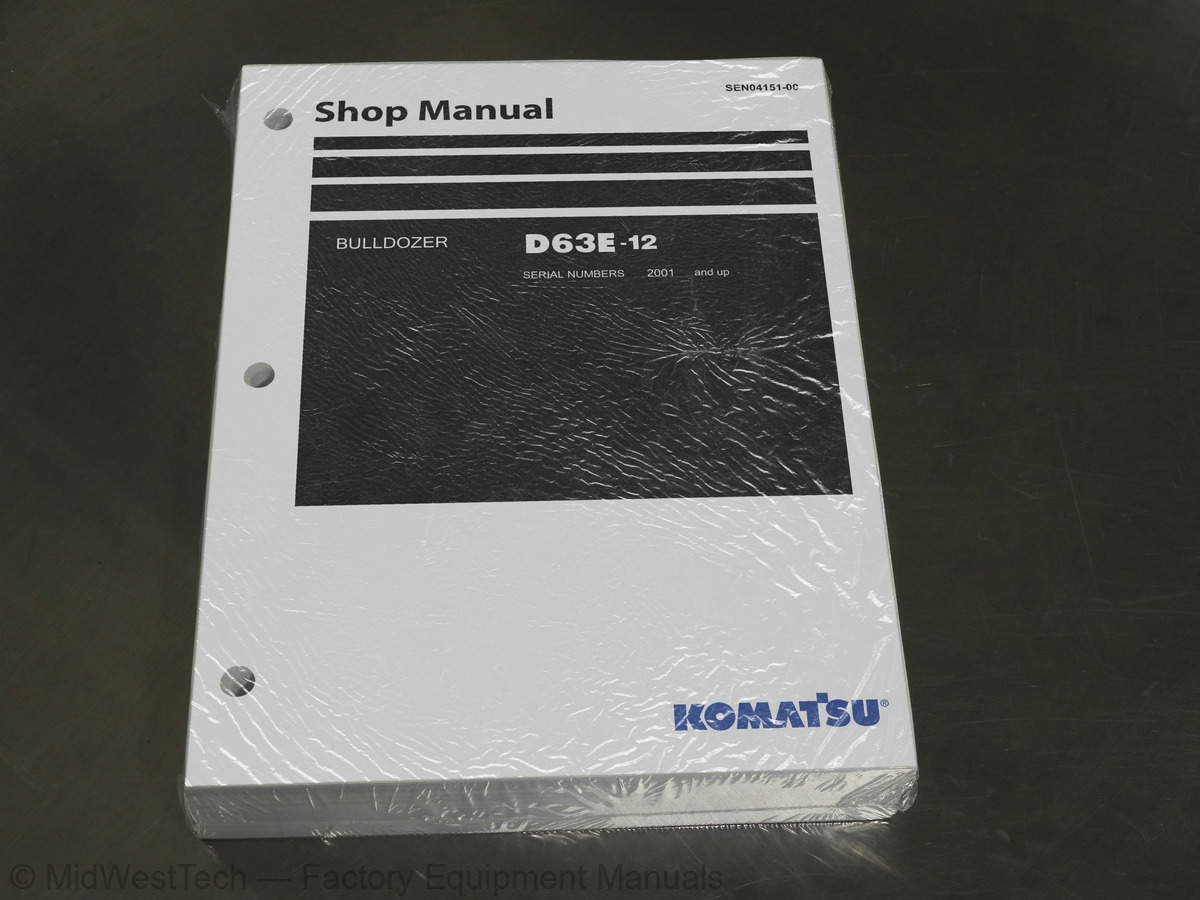
Komatsu D63E-12 Bulldozer Service Manual
677 pages · Publication SEN04151-00
Added to your cart. View cart
- Models
- D63E-12
- Serial coverage
- 2001 and up
- Manual type
- Service Manual
- Pages
- 677
- Publication
- SEN04151-00
- Condition
- Brand new
What's inside
From the manual's own table of contents: 8 sections, 267 entries. See sample pages (PDF, 665 KB)
Index and foreword49 topics
- Shop Manual, contents binder, binder label and tabs
- Index and foreword
- Index
- Foreword and general information
- Specification
- Structure, function and maintenance standard
- Engine and cooling system
- Power train, Part 1
- Power train, Part 2
- Undercarriage and frame
- Hydraulic system, Part 1
- Hydraulic system, Part 2
- Work equipment
- Cab and its attachments
- Electrical system
- Standard value table
- Standard service value table
- Testing and adjusting
- Testing and adjusting, Part 1
- Testing and adjusting, Part 2
- Troubleshooting
- General information on troubleshooting
- Troubleshooting of electrical system (E-mode)
- Troubleshooting of hydraulic and mechanical system (H-mode)
- Troubleshooting of engine (S-mode)
- Troubleshooting of machine monitor system (M-mode)
- Disassembly and assembly
- General information on disassembly and assembly
- Engine and cooling system
- Power train, Part 1
- Power train, Part 2
- Undercarriage and frame
- Hydraulic system
- Work equipment
- Cab and its attachments
- Diagrams and drawings
- Hydraulic diagrams and drawings
- Electrical diagrams and drawings
- Composition of shop manual
- Safety notice
- How to read the shop manual
- Explanation of terms for maintenance standard
- Handling of electric equipment and hydraulic component
- Handling of connectors newly used for engines
- How to read electric wire code
- Precautions when carrying out operation
- Method of disassembling and connecting push-pull type coupler
- Standard tightening torque table
- Conversion table
Specification5 topics
- Specification and technical data
- Specification drawing
- Specifications
- Weight table
- Table of fuel, coolant and lubricants
Structure, function and maintenance standard47 topics
- Radiator, power train, oil cooler
- Engine control
- Power train system
- Power train skeleton
- Power train unit
- Power train hydraulic piping diagram
- Transmission, steering and brake control
- Damper, universal joint
- Torque converter and PTO
- Transmission
- Transmission control valve
- Main relief valve
- Lubrication relief valve
- Power train oil filter
- Final drive
- Bevel gear shaft, steering clutch and brake
- Brake valve
- Reducing valve
- Scavenging pump strainer
- Power train pump strainer
- Main frame
- Suspension
- Track frame
- Recoil spring
- Idler
- Track roller
- Carrier roller
- Track shoe
- Work equipment hydraulic piping diagram
- Work equipment control
- Hydraulic tank and filter
- Hydraulic pump
- Power train lubrication pump
- Control valve
- CLSS
- Functions and operation by valve
- PPC valve
- Suction valve
- Work equipment
- Cutting edge, end bit
- Ripper
- Work equipment cylinder
- Cab mount
- ROPS guard
- Machine monitor system
- Monitor panel
- Sensors
Standard value table3 topics
- Standard value table for engine
- Standard value table for chassis
- Standard value table for electrical system
Testing and adjusting25 topics
- Tools for testing, adjusting, and troubleshooting
- Testing engine speed
- Testing blow-by pressure
- Testing exhaust color
- Testing air boost pressure
- Testing and adjusting valve clearance
- Testing compression pressure
- Testing and adjusting fuel injection timing
- Testing exhaust temperature
- Testing engine oil pressure
- Testing and adjusting engine stop solenoid
- Testing and adjusting fan belt tension
- Testing and adjusting air conditioner compressor belt tension
- Replacing alternator belt
- Testing speed at torque converter stall
- Adjusting fuel control linkage
- Adjusting linkages of steering, forward-reverse lever, gear shift lever, and parking brake lever
- Adjusting brake pedal linkage
- Adjusting work equipment lock lever
- Adjusting straight tiltdozer and U-dozer
- Testing power train hydraulic pressure
- Testing and adjusting work equipment oil pressure
- Testing leakage inside cylinder
- Bleeding air from hydraulic cylinder
- Procedure for simple test of steering brake performance
Troubleshooting60 topics
- Points to remember when troubleshooting
- Sequence of events in troubleshooting
- Testing before troubleshooting
- How to follow the troubleshooting flow diagrams
- Connection table for connector pin numbers
- T- branch box and T- branch adapter table
- Installing positions of fuses
- Table of failure modes and causes (Electrical system)
- Electrical circuit diagram for each system
- E-1 Starting motor is not cranked when starting switch is turned to ON
- E-2 Lamps do not light up
- E-3 Automatic preheating is not carried out when glow switch is turned to Auto
- E-4 Wiper does not work
- E-5 No washer fluid is sprayed out
- E-6 Air conditioner has no effect
- E-7 Engine does not start (Engine stop solenoid malfunctions)
- Table of failure modes and causes (hydraulic, mechanical system)
- H-1 Brake does not work
- H-2 Machine does not turn (can travel in a straight line)
- H-3 Machine overruns when turning
- H-4 Machine can turn in only one direction (when steering lever is operated)
- H-5 Excessive time lag
- H-6 Machine can travel in only one direction (forward or reverse)
- H-7 Machine does not move (when engine is started and lever is shifted to 2nd or 3rd)
- H-8 Machine does not move in any speed range
- H-9 Power train oil temperature rises too high
- H-10 Drawbar pull is weak, travel speed is slow
- H-11 Abnormal noise is generated from around hydraulic pump
- H-12 All work equipment speed is slow or lacks power
- H-13 No work equipment moves
- H-14 Hydraulic drift of blade lift is excessive
- H-15 Hydraulic drift of blade tilt is excessive
- Method of using troubleshooting charts
- S-1 Starting performance is poor (Starting always takes time)
- S-2 Engine does not start
- S-3 Engine does not pick up smoothly (Follow-up is poor)
- S-4 Engine stops during operations
- S-5 Engine does not rotate smoothly (Hunting)
- S-6 Engine lacks output (or lacks power)
- S-7 Exhaust smoke is black (Incomplete combustion)
- S-8 Oil consumption is excessive (or exhaust smoke is blue)
- S-9 Oil becomes contaminated quickly
- S-10 Fuel consumption is excessive
- S-11 Oil is in coolant, or coolant spurts back, or coolant level goes down
- S-12 Oil pressure monitor lights up (Drop in oil pressure)
- S-13 Oil level rises (Coolant, fuel in oil)
- S-14 Coolant temperature becomes too high (Overheating)
- S-15 Abnormal noise is made
- S-16 Vibration is excessive
- Table of failure modes and causes (Machine monitor system)
- Forestry specification, general construction specification
- M-1. No display is given on monitor panel when starting switch is turned to ON
- M-2. When starting switch is turned to ON, all monitor panel lamps light up and do not go out
- M-3. Preheating is abnormal
- M-4. CAUTION items light up or flash
- M-5. Buzzer is abnormal
- M-6. Warning lamp is abnormal
- M-7. Gauge is abnormal
- M-8. Service meter does not move after engine is started
- M-9. Monitor panel lighting does not light up (head lamps are normal)
Disassembly and assembly65 topics
- How to read this manual
- Coating materials list
- Special tool list
- Sketches of special tools
- Removal and installation of radiator and radiator guard assembly
- Removal and installation of engine assembly
- Removal and installation of coolant heater assembly
- Removal and installation of hydraulic oil cooler assembly
- Removal and installation of damper assembly
- Removal and installation of fuel tank assembly
- Removal and installation of engine hood assembly
- Removal and installation of fuel injection pump assembly
- Removal and installation of fuel injection nozzle assembly
- Removal and installation of cylinder head assembly
- Removal and installation of engine front oil seal
- Removal and installation of engine rear oil seal
- Removal and installation of PTO, torque converter and transmission assembly
- Separation and connection of PTO, torque converter and transmission assembly
- Disassembly and assembly of PTO assembly
- Disassembly and assembly of torque converter assembly
- Disassembly and assembly of TORQFLOW transmission assembly
- Removal and installation of torque converter main relief valve assembly
- Disassembly and assembly of torque converter main relief valve assembly
- Removal and installation of transmission control valve assembly
- Disassembly and assembly of transmission control valve assembly
- Removal and installation of brake valve assembly
- Disassembly and assembly of brake valve assembly
- Removal and installation of steering clutch and brake assembly
- Disassembly and assembly of steering clutch and brake assembly
- Removal and installation of bevel gear and bevel gear shaft
- Removal and installation of final drive assembly
- Disassembly and assembly of final drive assembly
- Removal and installation of track frame assembly
- Removal and installation of idler assembly
- Disassembly and assembly of idler assembly
- Removal and installation of recoil spring assembly
- Disassembly and assembly of recoil spring assembly
- Removal and installation of track roller assembly
- Disassembly and assembly of track roller assembly
- Removal and installation of carrier roller assembly
- Disassembly and assembly of carrier roller assembly
- Check before expanding track shoe assembly
- Expansion (normal), expansion (internal abnormality) and installation of track shoe assembly
- Overall disassembly and overall assembly of track shoe assembly
- Link press-fitting jig dimensions table
- Field disassembly and assembly of one link
- Removal and installation of pivot shaft assembly
- Removal and installation of equalizer bar assembly
- Removal and installation of equalizer bar side bushing
- Removal and installation of segment teeth
- Removal and installation of work equipment valve assembly
- Disassembly and assembly of work equipment control valve assembly
- Removal and installation of scavenging pump
- Removal and installation of power train and lubricating oil pump assembly
- Removal and installation of work equipment pump assembly
- Disassembly and assembly of hydraulic cylinder assembly
- Removal and installation of blade assembly
- Removal and installation of ripper assembly
- Removal and installation of ROPS guard assembly
- Removal and installation of operator cab assembly
- Removal and installation of operator’s cab glass (Stuck glass)
- Removal and installation of floor frame assembly
- Removal and installation of heater unit assembly
- Removal and installation of monitor panel assembly
- Removal and installation of dashboard assembly
Diagrams and drawings5 topics
- Power train hydraulic circuit diagram
- Steering, work equipment hydraulic circuit diagram
- Electrical circuit diagram
- Electrical circuit diagram (Inside cab)
- Connector list and stereogram
Inside this manual
Real pages from this service manual (677 pages). Open the sample pages (PDF, 664 KB)
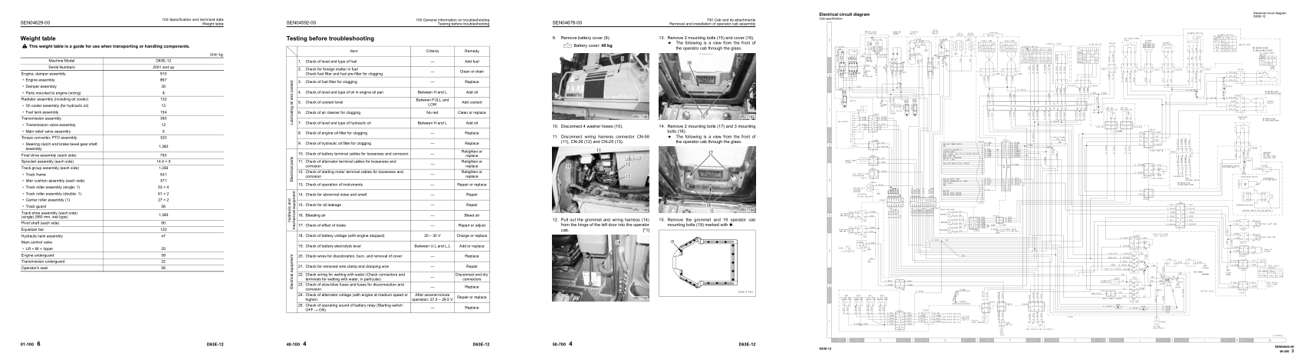
- Specifications, page 60: Weight table
- Troubleshooting, page 270: 100 General information on troubleshooting
- Diagram, page 640: 700 Cab and its attachments
- Foldout diagram, page 673: Electrical circuit diagram
This is a service manual
Here's how it compares to the other manual types.
Service manual
Factory repair procedures and technical information such as specifications, troubleshooting, and wiring and hydraulic diagrams, for the models and systems the manual covers. See What's inside for its topics.
Operator's manual
Safe operation, controls, maintenance schedules, lubrication points, inspections, and basic checks. Repair procedures are in the service manual.
Parts manual
Illustrated diagrams with factory part numbers for identifying components and ordering parts. Repair procedures are in the service manual.
Engine service manuals are sometimes sold separately, since certain machine models were offered with more than one engine option.
What it's used for
Factory manual for in-house farm and construction shop use. Straightforward, complete, and easy to follow. It contains the OEM information dealership service departments and parts counters use to diagnose problems, identify components, and perform maintenance or repairs correctly.
Service shops and owner/operators who repair their own equipment
Identifying correct parts and seeing how assemblies come apart and go back together
Keeping equipment running with less downtime
Factory manual, 677 pages
Quantity one is the manual described above.
Fast free USA shipping
Ships in 1 business day.
60-day returns
Free if the mistake is ours. A manual ordered in error must come back unopened in its shrink-wrap; you pay return shipping and a 20% restocking fee applies. Return policy
Binder not included
Manuals over about 300 pages may need a standard 3-ring binder, which you can buy locally to keep the pages organized for shop use.
Questions about model, serial number, engine coverage or contents? Contact us before purchasing and we'll help confirm it's the right manual. Please verify the manual type, machine model, serial number range and engine coverage before purchasing: manuals ordered in error carry a 20% restocking fee (return policy).