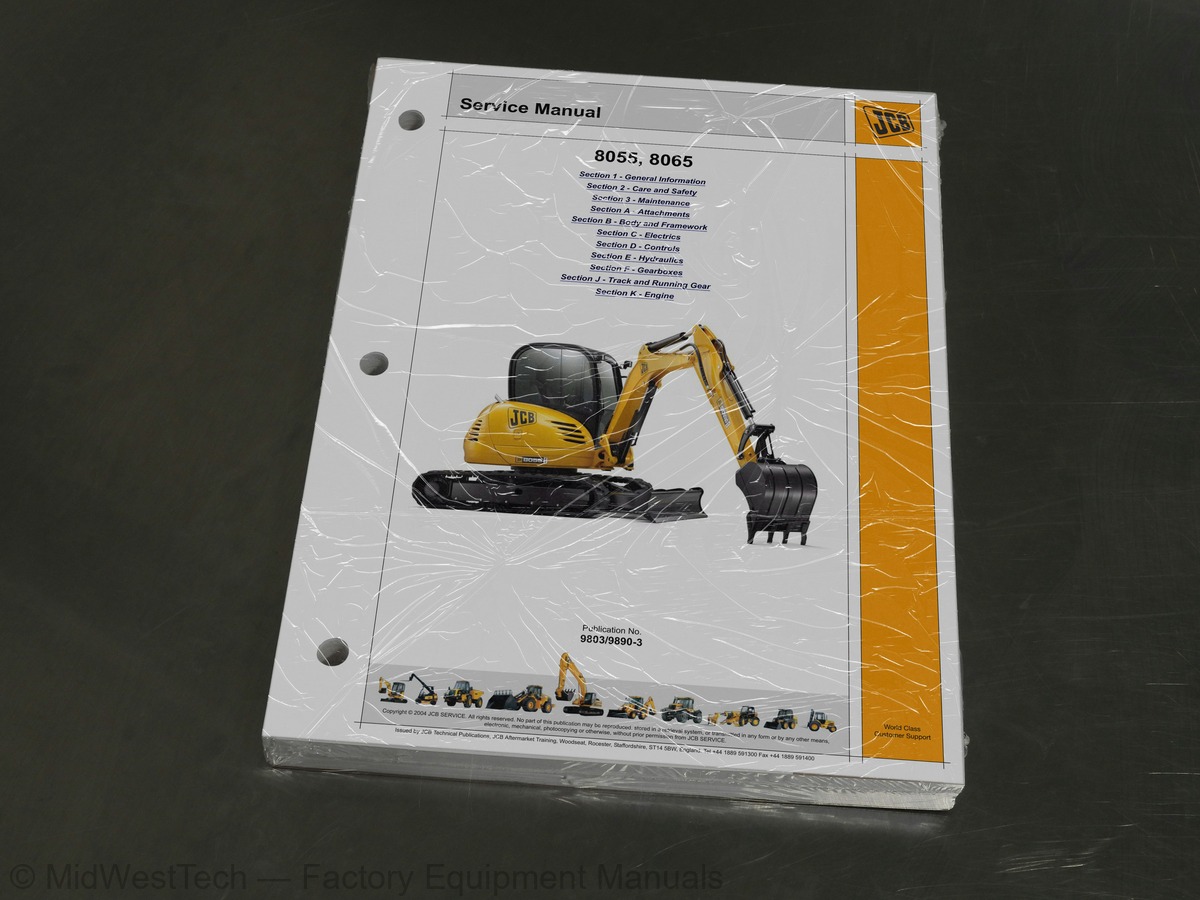
JCB 8055, 8065 Mini Excavator Service Manual
458 pages · Publication 9803-9890-3
Added to your cart. View cart
- Models
- 8055, 8065
- Serial coverage
- 8055 from SN 1536000 Onwards, 8065 from SN 1537500 Onwards
- Manual type
- Service Manual
- Pages
- 458
- Publication
- 9803-9890-3
- Condition
- Brand new
What's inside
From the manual's own table of contents: 4 sections, 251 entries. See sample pages (PDF, 301 KB)
Section 1 - General Information83 topics
- About this Manual
- Machine Model and Serial Number
- Using the Service Manual
- Section Numbering
- Left Side, Right Side
- Cross References
- Identification Plates
- Data Plate
- Typical Vehicle Identification Number (VIN)
- Typical Product Identification Number (PIN)
- Typical Engine Identification
- ROPS, TOPS and FOGS
- Zinc Plated Fasteners and Dacromet Fasteners
- Introduction
- Bolts and Screws
- Hydraulic Connections
- O' Ring Face Seal System
- Torque Stop' Hose System
- Numerical List
- Tool Detail Reference
- Section B - Frame and Bodywork
- Section C - Electrics
- Section E - Hydraulics
- Section K - Engine
- Sealing and Retaining Compounds
- Colour Coding
- Hydraulic Schematic Colour Codes
- Important Information
- The Operator Manual
- Safety Warnings
- Safety Check List
- Safety - Yours and Others
- General Safety
- Operating Safety
- Maintenance Safety
- Safety Labels
- Safety Label Identification
- Service Requirements
- Owner/Operator Support
- Service/Maintenance Agreements
- Fit for Purpose Tests for Lifting Equipment
- Obtaining Replacement Parts
- Health and Safety
- Lubricants
- Battery
- Service Schedules
- How to Use the Service Schedules
- Calendar Equivalents
- Pre-Start Cold Checks, Service Points and Fluid Levels
- Functional Test and Final Inspection
- Fluids, Lubricants and Capacities
- Coolant Mixtures
- Fuels
- Tools
- Carrying Tools onto the Machine
- Toolbox (if fitted)
- Prepare the Machine for Maintenance
- How to Make the Machine Safe (Excavator Lowered)
- Cleaning the Machine
- Preparing the Machine for Cleaning
- Cleaning the Tracks
- Checking for Damage
- Check the Machine Body and Structure
- Check the Seat and Seat Belt
- Check the Hydraulic Hoses and Fittings
- Check the Electrical Circuits
- Checking the ROPS/FOPS Structure
- Checking the Ram Piston Rods
- Greasing
- Pivot Pins
- Slew Ring Bearings
- Slew Ring Gear Teeth
- Access Panels
- Engine Cover
- Hydraulic Bay Cover
- Electrical System
- Fuses
- Engine
- Oil and Filter
- Cooling System
- Fan Belt
- HVAC Compressor Pump Belt
- Air Filter
Section 3 - Maintenance114 topics
- Fuel System
- Water Separator and Engine Fuel Filter
- Bleeding the System
- Hydraulic System
- Releasing the Hydraulic Pressure
- Tracks and Running Gear
- Checking the Track Gearbox Oil Level
- Changing the Track Gearbox Oil
- Checking the Track Tension
- Fire Extinguisher (if fitted)
- Checking the Fire Extinguisher
- Mechanical Quickhitch
- Installing the Quickhitch
- Removing the Quickhitch
- Maintenance
- Installing Excavator Quickhitch Attachments
- Removing Excavator Quickhitch Attachments
- Connecting/Disconnecting Hydraulic Hoses
- Connecting the Hydraulic Hoses
- Disconnecting the Hydraulic Hoses
- Quick Release Couplings
- Buckets
- Bucket Selection
- Removing a Bucket - Non Quickhitch Models
- Installing a Bucket - Non Quickhitch Models
- Removing a Bucket from a Quickhitch
- Installing a Bucket on a Quickhitch
- Replacing Bucket Teeth
- Quickhitch Rockbreaker
- Removing a Quickhitch Rockbreaker
- Installing a Quickhitch Rockbreaker
- Operation
- Rivet Nuts
- Fitting Procedure
- Glazing
- Direct Glazing
- Removal and Replacement
- Removal
- Replacement
- Inspection
- Checking Slew Bearing Backlash
- Checking Slew Bearing Vertical Lift
- General Electrical Data
- Using a Multimeter
- Measuring DC Voltage
- Measuring Resistance
- Measuring Continuity
- Measuring Frequency
- Testing a Diode or a Diode Wire
- Alternator
- General Description
- Service Precautions
- Charging Circuit Test
- Alternator Charging Test
- Starter Motor
- Starting Circuit Test
- Testing
- Specific Gravity Testing
- Wiring Harness Repair
- Repair Procedure
- Applications
- All Machines (Excluding Control Isolation)
- Control Isolation Machines
- Wire and Harness Number Identification
- Wire Numbers and Functions
- Mainframe Harness (Up to End of December 2010)
- Drawings
- Mainframe Harness (From January 2011)
- Controls Identification
- Servo Hand Controllers
- Leakage Amount
- Spool
- Plunger
- Loose Movement in the Operating Controls
- Actuation Stability
- Dismantling and Assembly
- Dismantling
- Assembly
- Fault Finding
- Track Controls
- Dozer Controls
- Cable Adjustment and Calibration
- Cable Adjustment
- System Calibration
- All Machines
- Introduction to Hydraulic Schematic Symbols
- General (Basic and Functional Symbols)
- Control Valves
- Example of Schematic Circuit
- Hydraulic Contamination
- Hydraulic Fluid Quality
- Effects of Contamination
- Cleaning Operation
- Contaminant Standards
- Filters
- All Machines (Up to December 2010)
- Component Key
- Hose Colour Data
- Neutral Circuit
- Main Services Circuit
- Traction Circuit
- Slew Circuit
- All Machines (From January 2011)
- Component Key - 8055 Machines
- Component Key - 8065 Machines
- Information
- General Fault Diagnosis
- Slew Motor and Gearbox
- Testing and Setting
- Description
- Test and Set
- Set the Servo Pressure
- Test the P.M.V
- Removal and Inspection
Section E - Hydraulics43 topics
- Set the Pressure Control Valve
- Set the Flow Control Valve
- Disassembly and Assembly
- External Components
- Internal Components
- Hydraulic Motor Section
- Two Speed Motor Operation
- Hydraulic Valve Section
- Parking Brake Section
- Track Motor
- Track Gearbox
- Brake Valve
- Shockless Relief Valve Section
- Check Valve Section
- Parking Brake Timer Valve Section
- Slew Motor
- Slew Gearbox
- Parking Brake Timer Valve
- Cross Line Relief Valve
- Component Locations
- Schematics
- Regeneration
- Dismantling, Inspection and Assembly
- Control Valve Sections
- Inlet/Outlet
- Slew
- Boom
- Auxiliary
- Bucket
- Dipper
- Dozer
- Swing
- Low Flow
- Track Right
- Track Left
- Precautions During Use
- Installation
- Caution During Use
- Maintenance, Inspection Points
- Boom, Dipper and Bucket Rams
- Dozer Ram
- Swing Ram
- All Rams
Section J - Track and Running Gear7 topics
- Technical Data
- Major Component Torque Settings
- Lower Rollers
- Upper Rollers
- Track Roller Metallic Face Seals
- When Removing
- When Replacing
Inside this manual
Real pages from this service manual (458 pages). Open the sample pages (PDF, 300 KB)
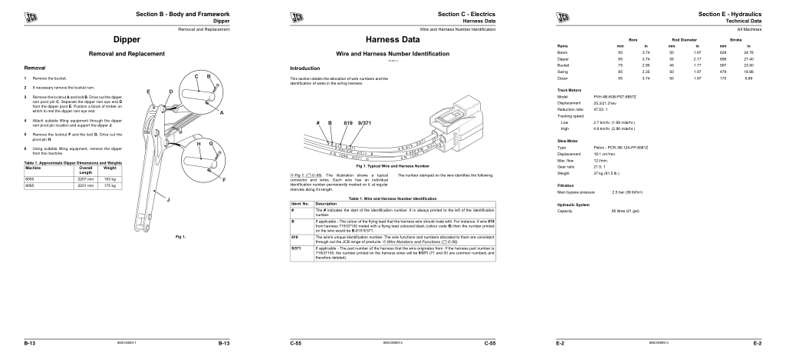
- Repair procedure, page 154: Section B - Body and Framework
- Diagram, page 224: Section C - Electrics
- Specifications, page 273: Technical Data
This is a service manual
Here's how it compares to the other manual types.
Service manual
Factory repair procedures and technical information such as specifications, troubleshooting, and wiring and hydraulic diagrams, for the models and systems the manual covers. See What's inside for its topics.
Operator's manual
Safe operation, controls, maintenance schedules, lubrication points, inspections, and basic checks. Repair procedures are in the service manual.
Parts manual
Illustrated diagrams with factory part numbers for identifying components and ordering parts. Repair procedures are in the service manual.
Engine service manuals are sometimes sold separately, since certain machine models were offered with more than one engine option.
What it's used for
Factory manual for in-house farm and construction shop use. Straightforward, complete, and easy to follow. It contains the OEM information dealership service departments and parts counters use to diagnose problems, identify components, and perform maintenance or repairs correctly.
Service shops and owner/operators who repair their own equipment
Identifying correct parts and seeing how assemblies come apart and go back together
Keeping equipment running with less downtime
Factory manual, 458 pages
Quantity one is the manual described above.
Fast free USA shipping
Ships in 1 business day.
60-day returns
Free if the mistake is ours. A manual ordered in error must come back unopened in its shrink-wrap; you pay return shipping and a 20% restocking fee applies. Return policy
Binder not included
Manuals over about 300 pages may need a standard 3-ring binder, which you can buy locally to keep the pages organized for shop use.
Other editions and similar models
Questions about model, serial number, engine coverage or contents? Contact us before purchasing and we'll help confirm it's the right manual. Please verify the manual type, machine model, serial number range and engine coverage before purchasing: manuals ordered in error carry a 20% restocking fee (return policy).