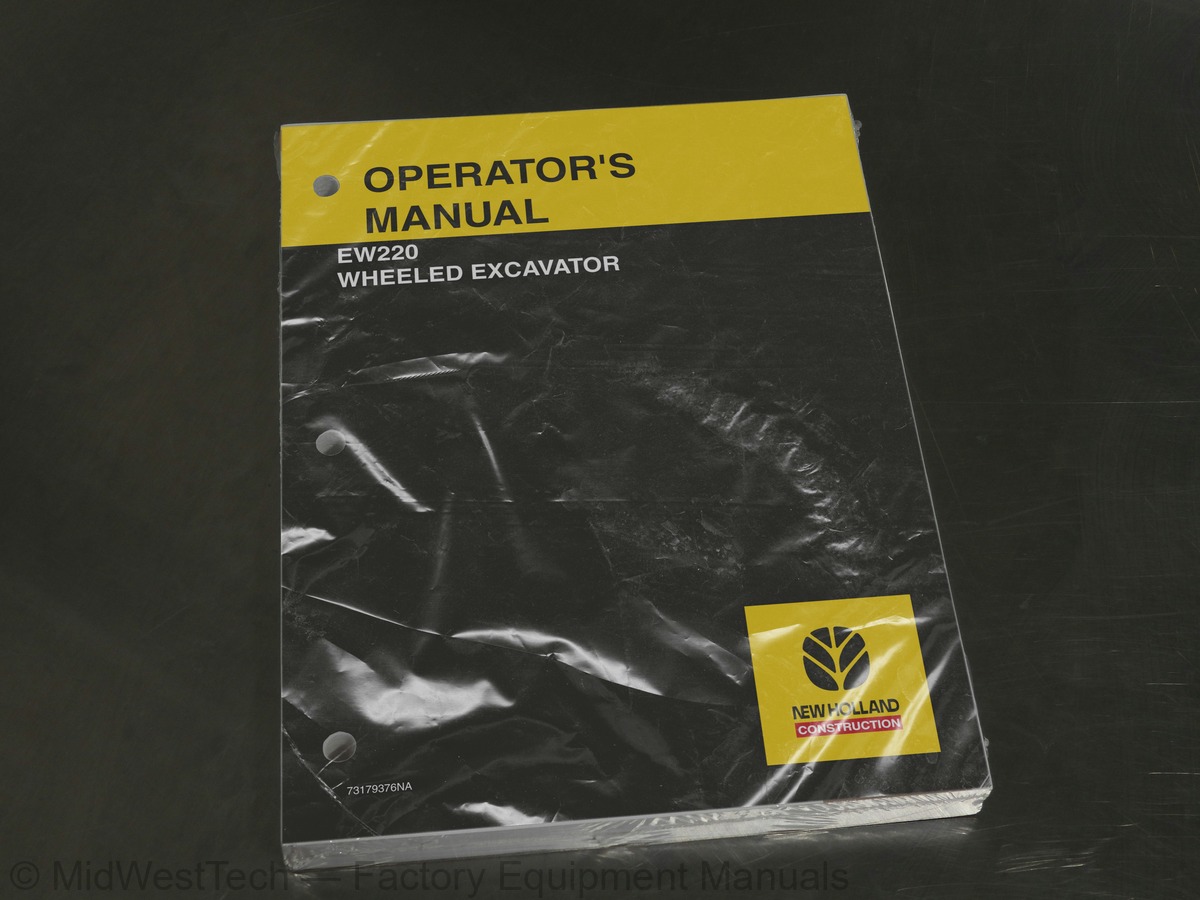
New Holland EW220 Wheeled Excavator Operator's Manual
272 pages · Publication 73179376
Added to your cart. View cart
- Models
- EW220
- Manual type
- Operator's Manual
- Pages
- 272
- Publication
- 73179376
- Condition
- Brand new
What's inside
From the manual's own table of contents: 325 topics. See sample pages (PDF, 344 KB)
- PREFACE
- Warnings and symbols
- DESIGNATED USE
- Organizational measures
- Selection and qualification of personnel - basic responsibilities
- Standard operation
- disposal of parts and consumables
- Electric energy
- Gas, dust, steam and smoke
- Hydraulic and pneumatic equipment
- Noise
- Oil, grease and other chemical substances
- Transporting and towing - recommissioning
- California, Proposition 65 Warning
- SAFETY PRECAUTIONS FOR OPERATION
- General
- Before Operation
- Operation - safety instructions
- Machine layout
- Undercarriage
- Superstructure
- Hydraulic system
- Steering
- Service brake
Show all 325 topics
- Parking brake
- Floating axle
- Electrical system
- Working equipment
- Warning and instruction signs
- Machine number
- Engine number
- Component numbers
- Climbing Up and Down
- Opening / Closing the Driver’s Cab Door
- Opening the Door from Outside
- Opening the Door from Inside
- Closing the Door
- Adjustment of driver’s seat
- Adjustment of seat suspension
- Fore and aft adjustment of seat
- Adjustment of seat position
- Adjustment of backrest inclination
- Adjustment of armrests
- Adjusting the Mirrors
- Opening and Closing the Windscreen
- Front window - Removing the lower part
- Opening / closing side window
- Emergency exit
- Using the Sunshade
- Cab interior lamp - switching on and off
- Socket outlet in cab
- Description of control panel
- Control panel operating instructions
- Control panel
- Supplementary control panel
- Control elements (SAE-control)
- STARTING UP THE MACHINE
- Refuelling, safety instructions
- Refuelling
- Switching the electrical system on and off
- Immobilizer, entering the code
- Starting the engine
- Engine does not start
- Shutting off the engine
- Ventilation
- Heating
- Adjusting the heating performance
- Defrosting the front and rear screens
- Switching the windscreen wiper / washer on and off
- DRIVING
- Driving - Safety instructions
- Fastening the retaining belt
- Applying the service brake
- Applying the parking brake
- Releasing the parking brake
- Travel gearbox shifting
- Creep-speed range
- Steering column - Safety instructions
- Adjusting the steering column
- First-aid kit
- Warning triangle
- Fire-extinguisher
- Blocking the swing axle
- Bringing the machine into its basic position
- Driving on and off the road
- Braking and stopping
- Driving on slopes and gradients
- Driving with a load on the hook
- Recovery and towing - Safety instructions
- Recovering / towing the machine
- During recovery / towing
- After recovery / towing
- Releasing the parking brake with the emergency unlocking device
- Transport - Safety instructions
- Driving in case of PCS failure
- After travel operation
- WORKING OPERATION
- Extreme positioning of working equipment - Instructions
- Before beginning work
- Switching on floodlamps
- Speed reset function
- Selecting the PCS output stage
- Activating the servo control
- Switching off the pilot control
- Locking the superstructure
- Unlocking the superstructure
- Swinging the superstructure
- Braking the superstructure
- Swinging - changing the mode of operation
- Superstructure retaining brake - function
- Applying the superstructure retaining brake
- Releasing the superstructure retaining brake
- Superstructure holding brake - emergency operation
- Machine in working position
- Stabilization of the machine
- Swing superstructure
- Raising and lowering the boom
- Extending and retracting the stick
- Filling and emptying the bucket
- Opening and closing the grab
- Turning the grab
- Activate the Power Assist function
- Activate the Power Boost function
- Activate the horn
- Power assist, function
- Power Boost, function
- Operating methods
- Switching the proportional valve over to emergency operation
- Shutting off the machine
- Protective roof against falling objects
- Securing the machine
- Quick-change device - safety instructions
- Quick-change device - detaching the excavator bucket
- Quick-change device - remounting the excavator bucket
- Attaching and detaching the grab equipment - Safety instructions
- Attaching the grab
- Detaching the grab
- Selecting the backhoe / grab equipment
- Backhoe bucket operations
- Grab operation
- Detaching / attaching the backhoe bucket
- Part nos. for Voler A.C
- Application of Voler A.C
- Description of multi-position boom
- Working with the multi-position boom
- Lowering boom upper section
- Raising boom upper section
- Transporting the machine with multi-position boom
- HYDRAULIC HAMMER
- Working with the hydraulic hammer, safety instructions
- Switching on the hydraulic hammer
- Switching off the hydraulic hammer
- SCRAP SHEARS
- Working with scrap shears, safety instructions
- Switching on the scrap shears
- Switching off the scrap shears
- LIFTING-GEAR OPERATION
- Lifting-gear operation - safety instructions
- Loading hook capacity
- Excavator load capacity
- Function of overload warning system
- Activating the overload warning system
- Testing the overload warning system
- Putting the overload warning system out of operation
- Pipe-fracture safety system, function
- Rotary beacon
- Switching on the floodlamps at the rear of the cab
- Radio
- Refuelling with the refuelling system, safety instructions
- Refuelling with the refuelling system
- Adjusting the lumbar support
- Adjusting the pneumatic suspension
- Fore-and-aft adjustment
- Adjusting the seat cushion
- Adjusting the backrest
- Adjusting the armrests
- Switching on the seat heating
- To switch on the seat heating
- To switch off the seat heating
- Operating Instructions
- Location of controls
- Troubleshooting table for air conditioning systems
- Causes of strongly diverging pressure measurements
- Service (key 16), function
- Display (key 18), function
- To indicate the engine revolutions
- To indicate the time of day
- Display, setting the contrast
- Setting the time
- Immobilizer, deactivate / activate
- Inspection and servicing - safety instructions
- Warranty
- Regular oil analysis
- Plan V - Once before first commissioning
- Plan N - After first commissioning
- Plan T - Every 10 OH or per working shift
- Plan W - Every 50 OH or weekly
- Plan A - After every 250 OH
- Plan B - After every 500 OH
- Plan C - After every 1000 OH
- Plan D - After every 3000 OH
- Lubricating chart - Grease Working equipment
- Lubricating chart - Grease Undercarriage
- Filling quantities - grease
- Joints and hinges
- Oil inspection plan
- Refilling quantities - oil
- Refilling quantities - other
- LUBRICANTS
- Oils for internal combustion engines
- Oils for hydraulic system, mineral
- Oils for gearboxes (selection)
- Oils for axles and gearboxes with wet-disk brakes
- Greases for bearings and swing rings
- Draining hose for oil changes
- Engine, safety instructions for inspection and servicing
- Checking the V-belt tension
- Retensioning the V-belts
- Topping up coolant
- Changing the coolant
- Checking the coolant
- Cleaning the radiator
- Checking and adjusting the valve tappet clearance
- Fuel leakage lines, check / replace
- Checking the engine oil level / topping up with oil
- Changing the engine oil
- Changing the engine oil filter
- Checking the coolant level
- Cleaning the speed sensor
- Removing, checking, and cleaning the main filter element
- Checking / changing safety filter element
- Checking air intake lines
- FUEL SYSTEM
- Changing fuel filter
- Bleeding the fuel system
- Primary fuel filter - draining water
- Cleaning the primary fuel filter
- Cleaning the fuel tank
- Electrical system - Safety instructions
- Alternator - instructions
- Battery main switch
- Battery - checking the fluid level
- Battery - checking the charge
- Removing and installing the battery
- Hydraulic system - safety instructions
- Depressurizing the hydraulic system
- Checking the hydraulic oil level
- Topping up with hydraulic oil
- Changing the hydraulic oil return-flow filter
- Replacing the breather valve
- Changing line filters
- Changing the hydraulic oil
- Draining hydraulic oil
- Cleaning the hydraulic oil reservoir
- Filling with hydraulic oil
- Venting the hydraulic system
- Cleaning the combinated cooler
- Slewing gear - checking oil level
- Slewing gear - changing oil
- Superstructure holding brake - Function checking
- Rigid axle and travel gearbox - checking the oil level
- Rigid axle and travel gearbox - changing the oil
- Steering axle gearbox - checking the oil level
- Wheel hub gears, checking the oil level
- Steering axle gearbox - changing the oil
- Planetary gearbox - changing the oil
- BRAKING
- Working on brakes - Safety instructions
- Checking the lining thickness of multiple-disk brakes
- Bleeding the multiple-disk brakes
- Swing axle cylinder - lubricating the contact surfaces
- Tyre inflation pressure - Safety instructions
- Checking the tyre inflation pressure - Refilling the tyre
- Table of tyre inflation pressures
- Tyres and wheels - safety instructions
- Changing a wheel
- Tread pattern arrangement
- Swing ring - Instructions
- Slewing ring - checking grease filling
- Swing ring - filling grease
- Swing ring - greasing the bearing
- Slewing ring - checking the screws for tightness
- Lubricating the greasing nipples
- Greasing the pedal valve tappets
- Greasing the control valve tappets
- Topping up the wash fluid
- Battery storage
- Recommissioning
- Repair work - safety instructions
- Accumulators, safety instructions
- Engine, repair instructions
- Assisted starting (with jump-leads)
- Prior to assisted starting
- Connecting the jumper cables
- Starting up the engines
- Checking / replacing the fuses
- Fuse table
- Replacing the bulbs - Notes
- Bulbs - Table
- Replacing the headlamp bulb
- Replacing the front turn signal lamp
- Replacing the bulb in the cab interior lamp
- Replacing the tail-lamp bulb
- Replacing the bulb of the floodlamp on driver’s cab
- Replacing the bulb of the boom floodlamp
- Working equipment - replacing a tooth
- Clamshell, Wear Limits
- TROUBLESHOOTING
- Instructions on troubleshooting
- Fault
- Possible causes
- Measure
- Combustion engine fault table
- Steering system fault table
- Service brake and parking brake, fault table
- Working hydraulics (incl. boom-adjusting and grab cylinder) fault table
- Transmission fault table
- Swing system fault table
- Floating-axle blocking fault table
- Stabilizer system (PLA - A 2) fault table
- Hammer operation (optional equipment) fault table
- Grab rotation circuit (optional equipment) fault table
- Table of fault codes
- Tightening torques - Table
- ABBREVIATIONS
Inside this manual
Real pages from this operator's manual (272 pages). Open the sample pages (PDF, 344 KB)

- Specifications, page 181: III. Oils for gearboxes (selection)
- Controls and operation, page 197: Battery main switch
- Maintenance, page 225: Swing ring - filling grease
Other manuals for this machine
Save 10% on 2 manuals, 15% on 3 or more. Other manuals for the EW220 are listed below. Editions cover different serial number ranges: check the serial coverage and tick only the ones that match your machine.
Added to your cart. View cart
This is an operator's manual
Here's how it compares to the other manual types.
Service manual
Factory repair procedures and technical information such as specifications, troubleshooting, and wiring and hydraulic diagrams, for the models and systems the manual covers. See What's inside for its topics.
Operator's manual
Safe operation, controls, maintenance schedules, lubrication points, inspections, and basic checks. Repair procedures are in the service manual.
Parts manual
Illustrated diagrams with factory part numbers for identifying components and ordering parts. Repair procedures are in the service manual.
What it's used for
Factory manual for in-house farm and construction shop use. Straightforward, complete, and easy to follow. It contains the OEM information dealership service departments and parts counters use to diagnose problems, identify components, and perform maintenance or repairs correctly.
Service shops and owner/operators who repair their own equipment
Identifying correct parts and seeing how assemblies come apart and go back together
Keeping equipment running with less downtime
Factory manual, 272 pages
Quantity one is the manual described above.
Fast free USA shipping
Ships in 1 business day.
60-day returns
Free if the mistake is ours. A manual ordered in error must come back unopened in its shrink-wrap; you pay return shipping and a 20% restocking fee applies. Return policy
Questions about model, serial number, engine coverage or contents? Contact us before purchasing and we'll help confirm it's the right manual. Please verify the manual type, machine model, serial number range and engine coverage before purchasing: manuals ordered in error carry a 20% restocking fee (return policy).