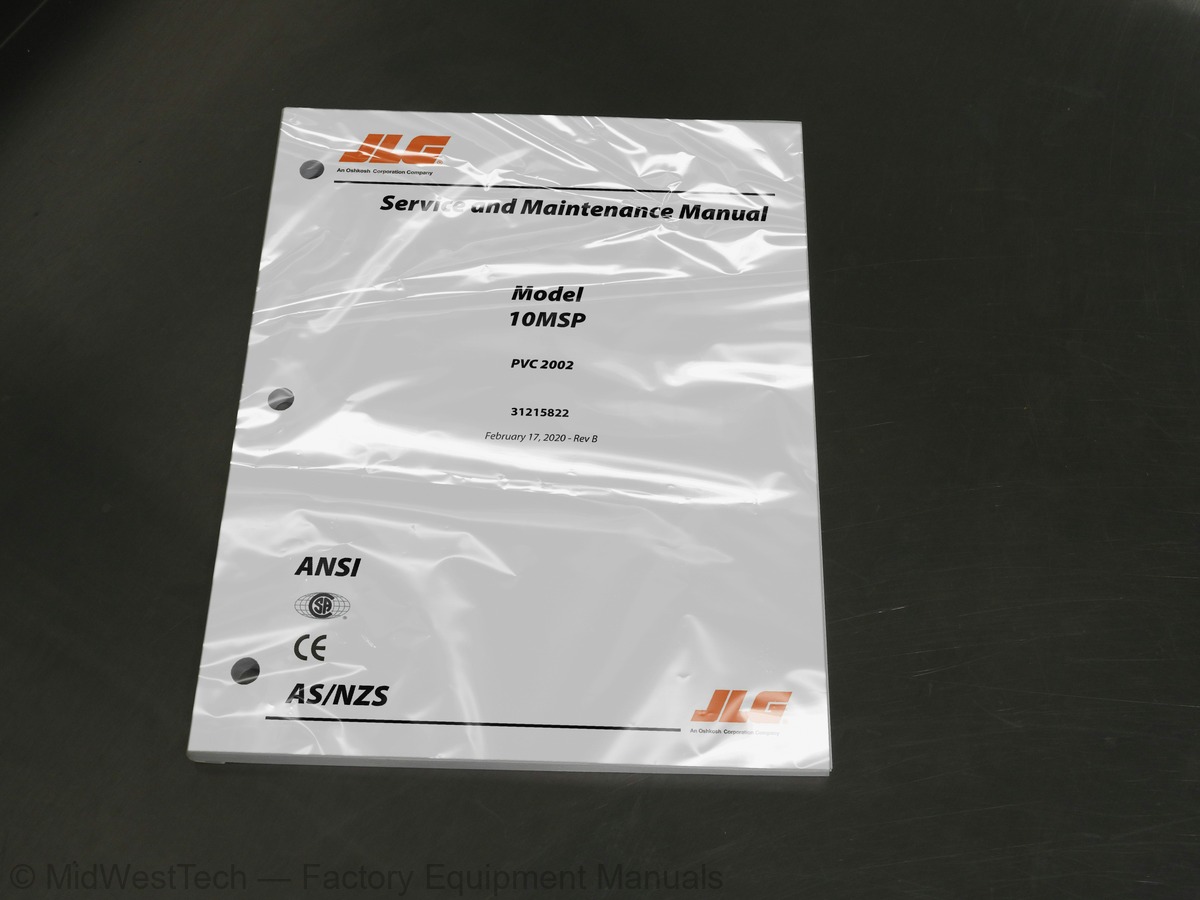
JLG 10MSP Vertical Mast Service Manual
174 pages · Publication 31215822
Added to your cart. View cart
- Models
- 10MSP
- Manual type
- Service Manual
- Pages
- 174
- Publication
- 31215822
- Condition
- Brand new
What's inside
From the manual's own table of contents: 9 sections, 292 entries. See sample pages (PDF, 664 KB)
Maintenance3 topics
- Operating Specifications
- Electrical Specifications
- Performance Data
Platform Data4 topics
- Serial Number Plate Locations
- Torque Requirements
- Cylinder Specifications
- Lubrication
Lubrication Specifications2 topics
- Thread Locking Compound
- Torque Charts
GENERAL SERVICE INFORMATION274 topics
- Machine Preparation, Inspection, and Maintenance
- General
- Preparation, Inspection, and Maintenance
- Pre-Start Inspection
- Pre-Delivery Inspection and Frequent Inspection
- Annual Machine Inspection
- Preventative Maintenance
- Preventive Maintenance and Inspection Schedule
- Servicing and Maintenance Guidelines
- Safety and Workmanship
- Cleanliness
- Components Removal and Installation
- Component Disassembly and Reassembly
- Pressure-Fit Parts
- Bearings
- Gaskets
- Bolt Usage and Torque Application
- Hydraulic Lines and Electrical Wiring
- Hydraulic System
- Lubrication and Servicing
- Batteries
- Mast Chain Inspection Procedure
- Lubrication Information
- Hydraulic Oil
- Changing Hydraulic Oil
- Lubrication Specifications
- Base Assembly Components
- Base Frame Covers
- Hood (Carry Deck)
- Hood (Carry Deck) Frame
- Drive Motor Cover
- Rear Bumper Cover
- Drive And Caster Wheels
- Tire Wear and Damage
- Tire Replacement
- Wheel Replacement
- Wheel Installation
- (Front) Caster Wheel Installation
- Drive/Elevation Cut-Out Switch Installation
- Wheel Drive Assembly Servicing
- Roll and Leak Testing
- Oil Type and Capacity
- Drive Motor Brush Wear - Warning Indication
- Wheel Drive Assembly Removal
- Wheel Drive Main Components Disassembly
- Replacing Drive Motor Brushes
- Torque Hub Main Disassembly
- Input Carrier Disassembly
- Hub Disassembly
- Spindle Disassembly
- Spindle Sub-Assembly
- Hub Sub-Assembly
- Input Carrier Sub-Assembly
- Main Torque Hub Sub-Assembly
- Motor, Brake, and Torque Hub Assembly
- Pump Motor Assembly
- Hydraulic Pressure Settings and Adjustment
- Hydraulic Pressure Gauge Connection
- After Filter Pressure Check
- Pump Motor Assembly Removal
- Pump Motor Assembly Installation
- Motor/Brush Cover Removal
- Brush Carrier Assembly Removal
- Brush Assembly Removal
- Tank Removal
- Filter Screen Removal
- Pump Removal
- Pressure Adjust Valve Removal
- Pressure Check Valve Removal
- Batteries and Battery Charger
- Battery Condition Testing
- Battery Replacement
- Battery Installation
- Battery Installation (4-6V)
- Battery Charge LED Indicator on Platform Control Console
- Battery Low Voltage Warning Indicators
- Battery Charging Status Indicators
- Battery Charger Maintenance
- Battery Charger Check/Change Charging Algorithm
- Battery Charger Removal/Installation
- Control Components OVERVIEW
- Control Components Installation
- Ground Control Module
- Traction Control Module Installation
- Platform Control Console Installation
- Platform Junction Box Installation
- Junction Box to Ground Control Harness Installation
- Platform Interlock Switch Circuit
- Component Electrical Connections
- Ground Control Module
- Cover Removal/Installation
- Power Selector/Emergency Stop Switch Installation
- Ground Control Module Programming
- Programming Levels
- Activating Programming Mode
- Entering Password
- Programming Mode Selection
- Selecting Programmable Item to Adjust
- Adjusting Programmable Setting
- Service Programming Mode - Level 2
- Operator Programming Mode - Level 3
- Platform Control Console
- Display/Controller Module Electrical Connections
- Mounting Bracket
- Rear Cover
- Display/Controller Module
- Horn Button Switch
- Key Switch
- E-Stop/ShutDown Switch
- Joystick Assembly
- Object Detection System (If Equipped)
- Removal
- Installation
- Mast Components Overview
- Mast Cover
- Platform Assembly
- Foot Height Limit Switch (If Equipped)
- Manual Material Tray
- Power Tray Disassembly
- Covers and Tray Removal
- Electrical and Hydraulic Components Removal
- Pulley System Disassembly
- Power Tray Lift Cylinder
- Power Tray Installation
- Pulley System Assembly
- Electrical and Hydraulic Components Installation
- Covers and Tray Installation
- Hydraulic Line Disconnect Tool
- In-Line Style Fittings
- Angled-Style Fittings
- Mast Removal
- Mast Installation
- SECTION NO. TITLE PAGE NO. Mast Disassembly
- Procedure
- Mast Section 4 (Platform Mount)
- Mast Section 3
- Mast Section 2
- Mast Section 1
- Cylinder Disassembly
- Lift Cylinder Component Inspection
- Cylinder Assembly
- Manual Descent Valve
- Remote Manual Descent (If Equipped)
- Mast Assembly
- Mast Section 4
- Mast Chains and Sequencing Cables Adjustment
- Mast Chain/Cable Adjustment
- Sequencing Cable Adjustment
- General
- Troubleshooting Information
- Hydraulic Circuit Checks
- Electrical Circuit Checks
- Multimeter Basics
- Grounding
- Backprobing
- Min/Max
- Polarity
- Scale
- Voltage Measurement
- Resistance Measurement
- Continuity Measurement
- Current Measurement
- Continuity Measurement Over Long Distances
- Requirements
- Electrical Switch Testing
- Basic Check
- Limit Switches
- Automatic Switches
- Switch Wiring - Low Side, High Side
- Ground Control Module LCD Display
- Specifications for Various Components
- Special Pin Extractor Tools for Electrical Connectors
- Fault Code Troubleshooting Tables
- Main Power Circuit Troubleshooting
- Machine Will Not Power Up
- Mast Troubleshooting
- Platform Will Not Lower Manually
- Platform Lift Up and Down Jerky
- Mast Noisy When Lifting And Lowering
- Platform (Mast) Won’t Stay Elevated
- Platform (Mast) Descends Too Slowly
- Hydraulic Leak Troubleshooting
- Miscellaneous Hydraulic Leak Troubleshooting
- Base Frame Components Troubleshooting
- Caster Wheels Not Operating Freely
- Drive System Troubleshooting
- Won’t Climb Grade
- Machine Drives in Opposite Direction
- Machine Won’t Drive Straight
- Noise From Drive Assembly
- Wheel Bolts Tightening Sequence
- Wheel Drive Assembly Installation (Right Side Shown)
- Drive Motor Disassembly
- Drive Motor Brush Holder Components
- Hydraulic Pressure Adjustment Screw
- Typical Hydraulic Pressure Gauge Installation
- Control Components Location
- Ground Control Module Installation
- Component Electrical Connections (4-6V Batteries)
- Ground Control Module Components
- Object Detection System
- Relay Installation
- Mast Components
- Power Tray Roller Assembly
- Power Unit Components
- Pulley System Overview
- Push Type Hydraulic Line Removal
- Lift Cylinder Component Cross-Section
- Mast Section - Assembly Reference
- Platform Junction Box to Ground Control Station Wiring Harness
- Mast Chain and Sequence Cable Adjustment Components
- Voltage Measurement (DC)
- Current Measurement (DC)
- LCD Display Symbols
- Component Electrical Connections with 4-6V Batteries
- Electrical Components Installation (with 4-6V Batteries)
- Electrical Components Installation
- Electrical Schematic - Sheet 1 of 4
- Electrical Schematic - Sheet 2 of 4
- Electrical Schematic - Sheet 3 of 4
- Electrical Schematic - Sheet 4 of 4
- Hydraulic Schematic
- Hydraulic Schematic -Power Tray (If Equipped)
- Hydraulic Oil Operating Range
- Standard UTTO Specs
- UCon Hydrolube HP-5046 Specs
- Lubricant Key
- Lubrication Intervals for Various Components
- Maintenance and Inspection Requirements
- Preventive Maintenance & Inspection Schedule
- Chain Stretch Tolerance
- Wheel Torque Chart
- Field Programmable Settings and Factory Preset
- LCD Display - Service Fault Code Conditions
- Amperage Draw for Various Components
- Special Pin Extractor Tools for Electrical Connectors
- Machine In Drive Speed Cut-Back (Turtle) Mode All The Time
- Obstruction Below Platform
- Code 01 - Low Battery Voltage
- Code 04 - Tilt Condition
- Code 05 - Obstruction Sensor - No Communication
- Code 07 - Left Drive Motor - Disconnected
- Code 08 - Right Drive Motor Disconnected
- Code 09 - Left Brake - Disconnected
- Code 10 - Right Brake - Disconnected
- Code 11 - Left Drive Motor - Short Circuit
- Code 12 - Right Drive Motor - Short Circuit
- Code 13 - Traction Module - In Fold Back
- Code 14 - Pump Motor - Disconnected
- Code 15 - Lift Down Valve - Disconnected
- Code 16 - Lift Down Valve - Short Circuit
- Code 17 - Ground Control Module - In Fold Back
- Code 18 - Alarm - Short Circuit
- Code 19 - Alarm - Disconnected
- Code 20 - Beacon - Short Circuit
- Code 21 - Beacon - Short Disconnected
- Code 22 - Horn - Short Circuit
- Code 23 - Horn - Disconnected
- Code 24 - P1-Auxiliary #1 Circuit - Short Circuit
- Code 25 - P1-Auxiliary #1 Circuit - Disconnected
- Code 26 - P1-Auxiliary #2 - Short Circuit
- Code 27 - P1-Auxiliary #2 - Disconnected
- Code 30 - Traction Module - No Communication with Ground Control Module
- Code 31 - Platform Control Console - No Communication with Ground Control Module
- Code 32 - Pump Motor - Over Current
- Code 34 - P2-Auxiliary #1 - Inhibit
- Code 35 - P2-Auxiliary #1 - Tie-Down
- Code 36 - Auxiliary #2 - Inhibit
- Code 37 - Auxiliary #2 - Tie-Down
- Codes (100 - 199) Ground Control Module - Fault Condition
- Code (200 - 299) Platform Control Console - Fault Condition
- Codes (300 - 399) Traction Control Module - Fault Condition
- Hydraulic Leak Troubleshooting
- Machine Drive in Opposite Direction
Inside this manual
Real pages from this service manual (174 pages). Open the sample pages (PDF, 661 KB)
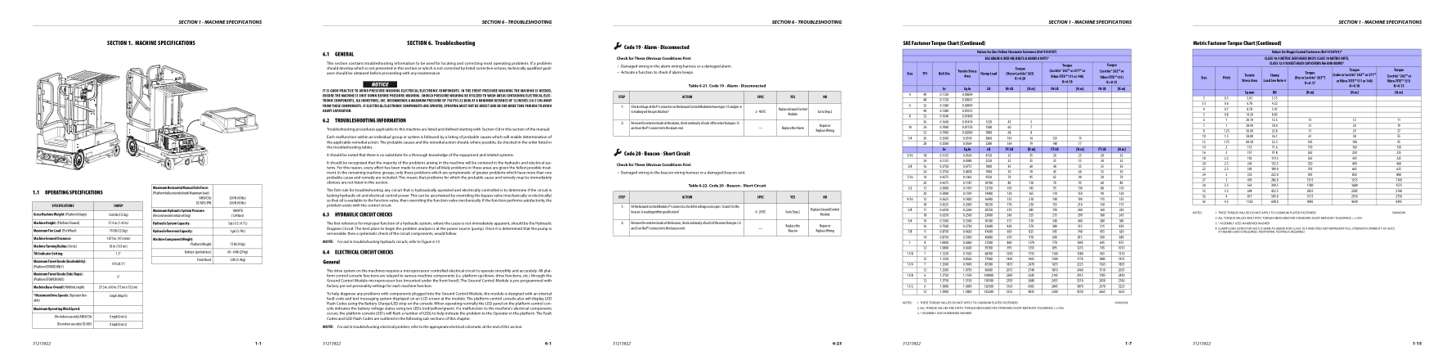
- Specifications, page 13: SECTION 1 - MACHINE SPECIFICATIONS
- Troubleshooting, page 119: SECTION 6. Troubleshooting
- Diagram, page 141: Code 19 - Alarm - Disconnected
- Color page, page 19: SECTION 1 - MACHINE SPECIFICATIONS
- Color page, page 27: SECTION 1 - MACHINE SPECIFICATIONS
Other manuals for this machine
Save 10% on 2 manuals, 15% on 3 or more. Other manuals for the 10MSP are listed below. Editions cover different serial number ranges: check the serial coverage and tick only the ones that match your machine.
Added to your cart. View cart
This is a service manual
Here's how it compares to the other manual types.
Service manual
Factory repair procedures and technical information such as specifications, troubleshooting, and wiring and hydraulic diagrams, for the models and systems the manual covers. See What's inside for its topics.
Operator's manual
Safe operation, controls, maintenance schedules, lubrication points, inspections, and basic checks. Repair procedures are in the service manual.
Parts manual
Illustrated diagrams with factory part numbers for identifying components and ordering parts. Repair procedures are in the service manual.
Engine service manuals are sometimes sold separately, since certain machine models were offered with more than one engine option.
What it's used for
Factory manual for in-house farm and construction shop use. Straightforward, complete, and easy to follow. It contains the OEM information dealership service departments and parts counters use to diagnose problems, identify components, and perform maintenance or repairs correctly.
Service shops and owner/operators who repair their own equipment
Identifying correct parts and seeing how assemblies come apart and go back together
Keeping equipment running with less downtime
Factory manual, 174 pages
Quantity one is the manual described above.
Fast free USA shipping
Ships in 1 business day.
60-day returns
Free if the mistake is ours. A manual ordered in error must come back unopened in its shrink-wrap; you pay return shipping and a 20% restocking fee applies. Return policy
Other editions and similar models
Questions about model, serial number, engine coverage or contents? Contact us before purchasing and we'll help confirm it's the right manual. Please verify the manual type, machine model, serial number range and engine coverage before purchasing: manuals ordered in error carry a 20% restocking fee (return policy).