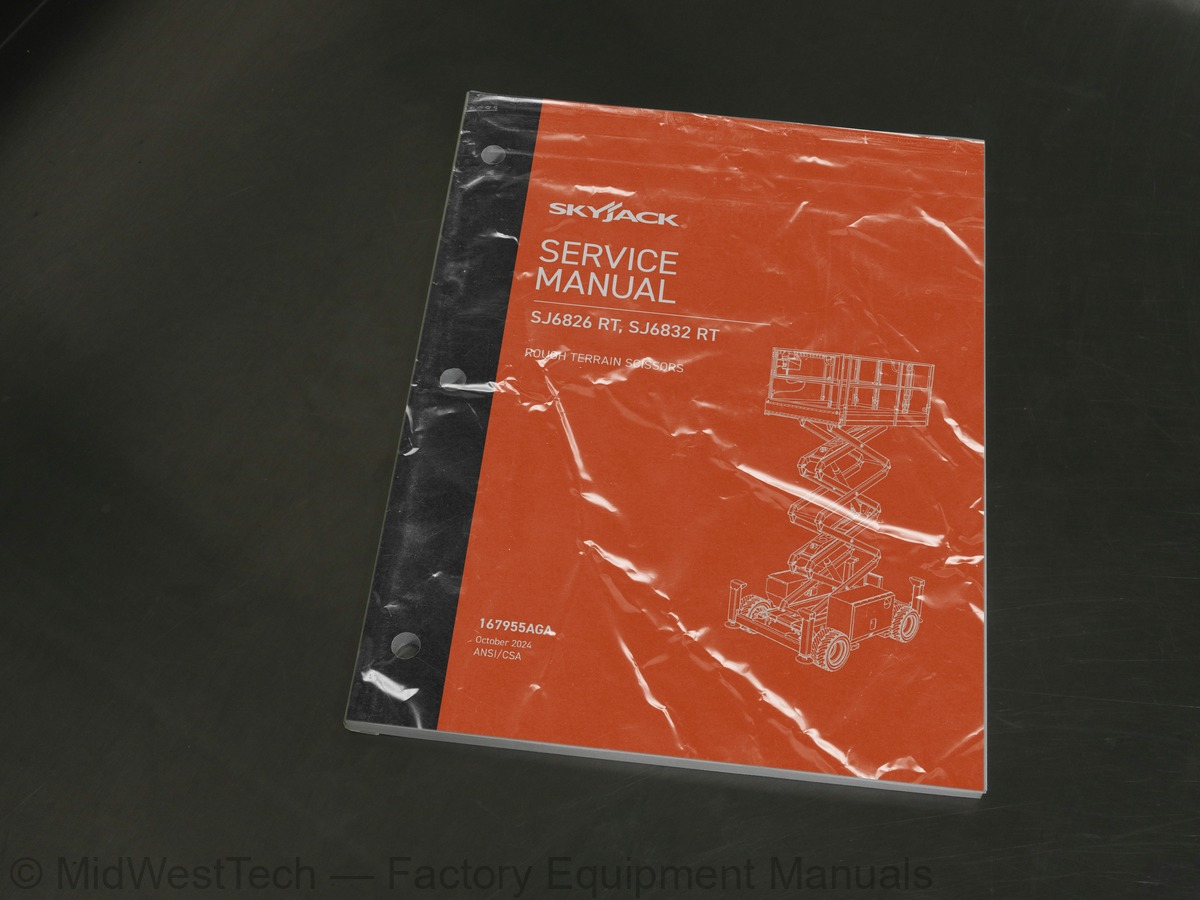
Skyjack SJ6826 RT, SJ6832 RT Rough Terrain Scissor Lift Service Manual
159 pages · Publication 167955AGA
Added to your cart. View cart
What's inside
From the manual's own table of contents: 5 sections, 195 entries. See sample pages (PDF, 1087 KB)
Section 1 – Scheduled Maintenance26 topics
- Read and Heed
- 1.1-1 Aerial Platform and Mobile Elevating Work Platform Definition
- 1.1-2 Purpose of Equipment
- 1.1-3 Use of Equipment
- 1.1-5 Service Policy and Warranty
- 1.1-6 Operator Safety Reminders, Warnings and Precautions
- Maintenance and Inspection Schedule
- 1.2-1 Owner’s Annual Inspection Record
- 1.2-2 Replacement Parts
- 1.2-3 Maintenance and Service Safety Tips
- Hydraulic System & Component Maintenance and Repair
- 1.3-1 Maintenance Hints
- About this Section
- 1.4-1 Service Bulletins
- 1.4-2 Maintenance and Inspection
- 1.4-3 Maintenance Instructions
- Owner’s Annual Inspection Record
- Scheduled Maintenance Inspections
- 1.6-1 Electrical
- 1.6-2 Hydraulic
- 1.6-5 Limit Switches
- 1.6-6 Engine Compartment
- 1.6-7 Hydraulic / Fuel Compartment
- 1.6-8 Platform Assembly
- 1.6-9 Lifting Mechanism
- Function Tests
Section 2 – Specifications9 topics
- Specifications and Features
- Floor Load Calculation
- Floor Loading Pressure
- Maximum Platform Capacities
- Fluid Specifications
- Torque Specifications
- Torque Specifications for Fasteners (Imperial)
- Torque Specifications for Fasteners (Metric)
- Torque Specifications for Hydraulic Couplings & Hoses
Section 3 – System Component Identification and Schematics35 topics
- Hydraulic Symbol Chart
- Electrical Symbol Chart
- AC Cord Color Code
- Hydraulic Schematic Parts List
- Electrical Parts List
- Hydraulic Schematic S/N 37006450 and above
- Hydraulic Schematic S/N 37006449 and below
- Hydraulic Manifold Valve Port Identification
- Hydraulic Manifold Valve Assemblies and Port Identification
- Control Box Wiring Diagram
- Outrigger / Hydraulic Generator Control Console Wiring Diagram
- Scissor Arm Control Cable Wiring Diagram
- Main Manifold Valve Harness Wiring Diagram
- Kubota Engine Wiring Diagram – Dual Fuel System – S/N 37009728 and Below
- Kubota Engine Wiring Diagram – Dual Fuel System – S/N 37009729 and Above
- Kubota Engine Wiring Diagram (Diesel Fuel System)
- Outrigger Harness Wiring Diagram
- Hydraulic Generator Electrical Panel Assembly
- All Motion Alarm Electrical Panel Diagram
- Flashing Light Relay Harness
- Elevate Telematics Wiring Diagram
- ZTR & Calamp Telematics Harness Wiring Diagram
- Electrical Panel Wiring Diagram S/N 37000235 and above
- Electrical Panel Wiring Diagram S/N 37000234 and below
- Electrical Panel Diagram with Positive Air Shut Off Option S/N 37000235 and above
- Electrical Panel Diagram with Positive Air Shut Off Option S/N 37000234 and below
- Positive Air Shut Off Harness Wiring Diagram – Diesel Engine
- Electrical Schematic (No Option with Kubota Dual Fuel Engine) S/N 37009565 and above
- Electrical Schematic (No Option with Kubota Dual Fuel Engine) S/N 37000235 to 37009564
- Electrical Schematic (No Option with Kubota Dual Fuel Engine) S/N 37000234 and below
- Electrical Schematic (All Option with Kubota Dual Fuel Engine) S/N 37009565 and above
- Electrical Schematic (All Option with Kubota Dual Fuel Engine) S/N 37000235 to 37009564
- Electrical Schematic (All Option with Kubota Dual Fuel Engine) S/N 37000234 and below
- Electrical Schematic (All Option with Kubota Diesel Engine) S/N 37000235 and above
- Electrical Schematic (All Option with Kubota Diesel Engine) S/N 37000234 and below
Section 4 – Troubleshooting Guide66 topics
- Introduction
- Electrical System
- 4.2-1 All Controls Inoperative
- 4.2-2 No Power To Platform
- 4.2-3 All Functions Inoperative from The Platform
- 4.2-4 Engine Will Not Crank from Platform or Base Control Console
- 4.2-5 Engine Cranks But Does not Start – Kubota Diesel
- 4.2-6 Engine Cranks But Does not Start – Kubota Dual Fuel
- 4.2-7 Glow Plugs Inoperative from Engine Controls or Platform (Diesel Models)
- 4.2-8 Choke Inoperative from Engine Controls or Platform (Kubota Dual Fuel)
- 4.2-9 High Throttle Inoperative
- 4.2-10 High Throttle On Demand Inoperative (Kubota Dual Fuel)
- 4.2-11 Drive and Steer Inoperative (Machines without outriggers option)
- 4.2-12 Drive and Steer Inoperative (Machines with outriggers option)
- 4.2-13 Brakes Does not Release
- 4.2-14 Steer Right Inoperative
- 4.2-15 Steer Left Inoperative
- 4.2-16 Reverse Drive Inoperative
- 4.2-17 Forward Drive Inoperative
- 4.2-18 First Drive Speed and Steering Inoperative
- 4.2-19 Second Drive Speed Inoperative
- 4.2-20 Third Drive Speed Inoperative
- 4.2-21 High Drive Speed Inoperative
- 4.2-22 Up Circuit Inoperative from Platform
- 4.2-23 Up Circuit Inoperative from Base Control Console
- 4.2-24 Up Circuit Inoperative from Platform or Base Control Console (without Outriggers)
- 4.2-25 Platform does not Lift from Platform or Base Control Console with Outriggers Retracted (Lift Operates Correctly w
- 4.2-26 Platform does not Lift from Platform or Base Control Console with Outriggers Extended
- 4.2-27 Platform does not Lift from Platform or Base Control Console with Outriggers Extended or Retracted
- 4.2-28 Down Circuit Inoperative from Platform
- 4.2-29 Down Circuit Inoperative from Base
- 4.2-30 Hydraulic Generator Inoperative
- 4.2-31 Hydraulic Generator does not Shut Off from Generator Switch
- 4.2-32 All Outriggers Inoperative (Auto-Level and Manual)
- 4.2-33 All Outriggers Inoperative (Auto-Level and Manual from Platform Controls)
- 4.2-34 All Outriggers Inoperative (Base Controls only)
- 4.2-35 All Outriggers Inoperative (Auto Level only)
- 4.2-36 All Outriggers Inoperative (Auto Level only)
- 4.2-37 Left Front Outrigger Inoperative Manually
- 4.2-38 Right Front Outrigger Inoperative Manually
- 4.2-39 Right Rear Outriggers Inoperative Manually
- 4.2-40 Left Rear Outriggers Inoperative Manually
- 4.2-41 Individual Outrigger Functions Inoperative (Auto-Level)
- 4.2-42 Auto-Level Inoperative
- 4.2-43 Auto All Up Inoperative (Retract)
- Hydarulic System
- 4.3-1 All Functions Inoperative
- 4.3-2 Steering Inoperative
- 4.3-3 Lift, Steer and First Drive Speed Inoperative
- 4.3-4 Second Drive Speed Inoperative
- 4.3-5 Drive Inoperative
- 4.3-6 Drive Sluggish
- 4.3-7 Reverse Drive Inoperative
- 4.3-8 Forward Drive Inoperative
- 4.3-9 Drive Inoperative When in Low Drive
- 4.3-10 Drive Inoperative When in High Drive
- 4.3-11 Brakes Does not Release
- 4.3-12 Up Circuit Inoperative
- 4.3-13 Down Circuit Inoperative
- 4.3-14 Hydraulic Generator Inoperative
- 4.3-15 All Outriggers Inoperative
- 4.3-16 Left Front Outriggers Inoperative
- 4.3-17 Right Front Outriggers Inoperative
- 4.3-18 Right Rear Outriggers Inoperative
- 4.3-19 Left Rear Outriggers Inoperative
- 4.3-20 Outriggers Drift In
Section 5 – Service Procedures54 topics
- General
- 5.1-1 Safety and workmanship
- Platform
- 5.2-1 Adjust the gate spring hinge
- 5.2-2 Platform mounting hardware
- Scissors
- 5.3-1 Replace and adjust the high speed cutout limit switch (LS5)
- 5.3-2 Test the high speed cutout limit switch
- Engine
- 5.4-1 Kubota dual fuel (DF972 / WG752) resistance checks
- 5.4-2 Kubota dual fuel (DF972/WG752) engine throttle setting
- 5.4-3 Kubota diesel D902 engine throttle setting
- 5.4-4 Replace the fuel filter element - Kubota D902
- 5.4-5 Bleed the fuel system of air - Kubota D902
- 5.4-6 Replace and adjust the fan belt
- 5.4-7 Replace the air cleaner element
- 5.4-8 Replace the oil filter cartridge
- 5.4-9 Change the oil
- 5.4-10 Check and replenish the radiator coolant level
- 5.4-11 Drain and refill the radiator
- Base
- 5.5-1 Inspect and torque the wheel bolts and nuts
- 5.5-2 Install and torque the wheels
- 5.5-3 Tighten the wheel nut
- 5.5-4 Grease points
- 5.5-5 Reconnect the platform control box for use from the ground
- 5.5-6 Electronic tilt switch set up procedure
- Hydraulics
- 5.6-1 Tightening and torque recommendations for hydraulic couplings and hoses
- 5.6-2 Do a check of the holding valve
- 5.6-3 Set the system pressure
- 5.6-4 Set the lift pressure
- 5.6-5 Drive circuit flush procedure
- 5.6-6 Drive motor test
- 5.6-7 System pressure test
- 5.6-8 Drive pressure test
- Outriggers
- 5.7-1 Outrigger mechanical limit switch wiring diagram
- 5.7-2 Replace and adjust the outrigger upper limit switch (LS61, LS62, LS63, LS64)
- 5.7-3 Replace and adjust the Outrigger lower limit switch (LS65, LS66, LS67, LS68)
- EZcal Diagnostic Tool
- 5.8-1 Hand held EZcal calibration and diagnostic tool key functions
- 5.8-2 Flash the controller
- 5.8-3 Outrigger codes
- Auto-leveling Outrigger PC Board Layout
- GP-106 (OCM1) Control Module
- 5.10-1 Outrigger control module (GP-106/OCM1) instructions
- 5.10-2 Auto-leveling outrigger settings and error codes
- 5.10-3 Auto-leveling outrigger error code breakdown
- 5.10-4 Set up the GP-106 outrigger controller
- 5.10-5 GP-106 outrigger controller pin reference table
- GP-108 Control Module
- 5.11-1 Set up the GP-108 outrigger controller
- 5.11-2 GP-108 outrigger controller pin reference table
Inside this manual
Real pages from this service manual (159 pages). Open the sample pages (PDF, 1085 KB)

- Specifications, page 35: 2.5 Fluid Specifications
- Diagram, page 69: 3.23 Electrical Panel Wiring Diagram S/N 37000235 and above
- Troubleshooting, page 103: 4.2-36 All Outriggers Inoperative (Auto Level only)
- Color page, page 10: SJ6826 RT, SJ6832 RT
- Color page, page 133: 5. Referencing the following table, use a second box
- Foldout diagram (color), page 71: RESISTOR
Other manuals for this machine
Save 10% on 2 manuals, 15% on 3 or more. Other manuals for the SJ6826 RT, SJ6832 RT are listed below. Editions cover different serial number ranges: check the serial coverage and tick only the ones that match your machine.
Added to your cart. View cart
This is a service manual
Here's how it compares to the other manual types.
Service manual
Factory repair procedures and technical information such as specifications, troubleshooting, and wiring and hydraulic diagrams, for the models and systems the manual covers. See What's inside for its topics.
Operator's manual
Safe operation, controls, maintenance schedules, lubrication points, inspections, and basic checks. Repair procedures are in the service manual.
Parts manual
Illustrated diagrams with factory part numbers for identifying components and ordering parts. Repair procedures are in the service manual.
Engine service manuals are sometimes sold separately, since certain machine models were offered with more than one engine option.
What it's used for
Factory manual for in-house farm and construction shop use. Straightforward, complete, and easy to follow. It contains the OEM information dealership service departments and parts counters use to diagnose problems, identify components, and perform maintenance or repairs correctly.
Service shops and owner/operators who repair their own equipment
Identifying correct parts and seeing how assemblies come apart and go back together
Keeping equipment running with less downtime
Factory manual, 159 pages
Quantity one is the manual described above.
Fast free USA shipping
Ships in 1 business day.
60-day returns
Free if the mistake is ours. A manual ordered in error must come back unopened in its shrink-wrap; you pay return shipping and a 20% restocking fee applies. Return policy
Other editions and similar models
Questions about model, serial number, engine coverage or contents? Contact us before purchasing and we'll help confirm it's the right manual. Please verify the manual type, machine model, serial number range and engine coverage before purchasing: manuals ordered in error carry a 20% restocking fee (return policy).